
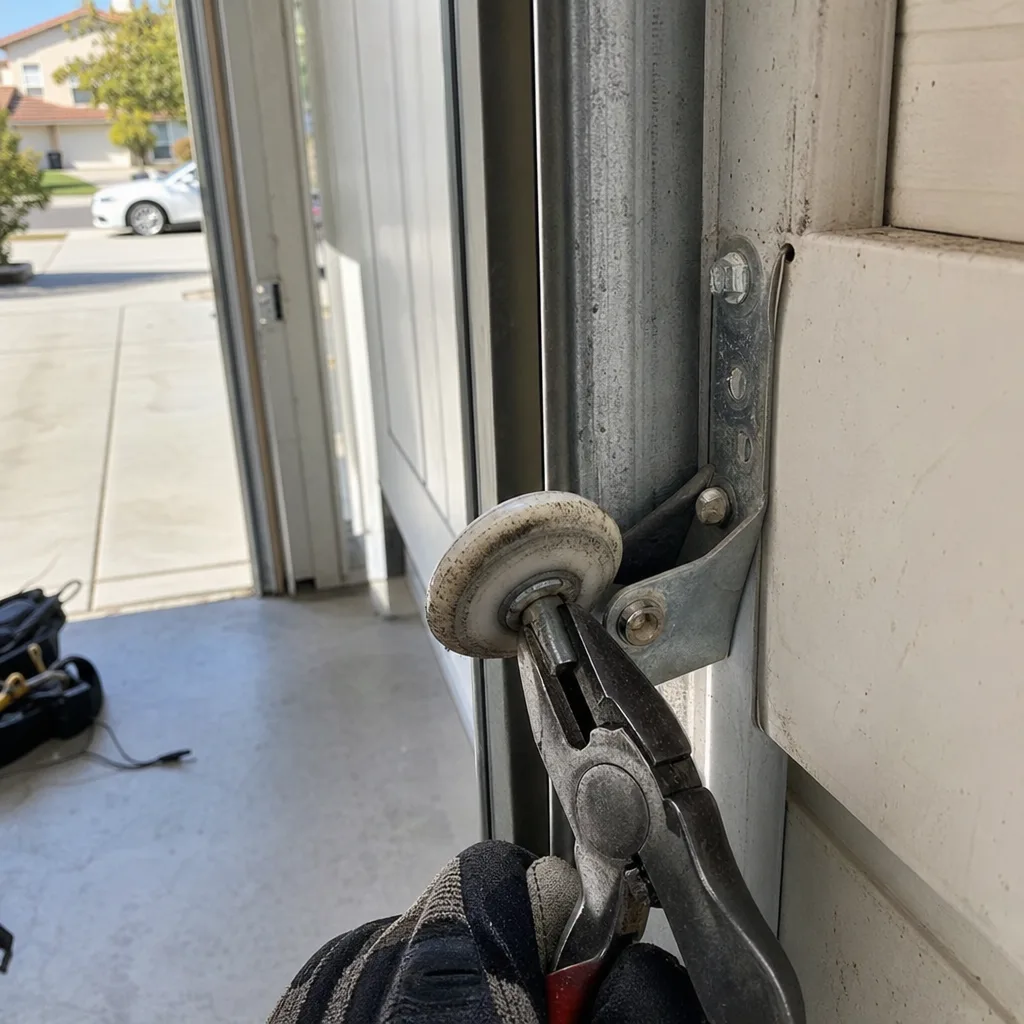
Last updated November 2, 2026
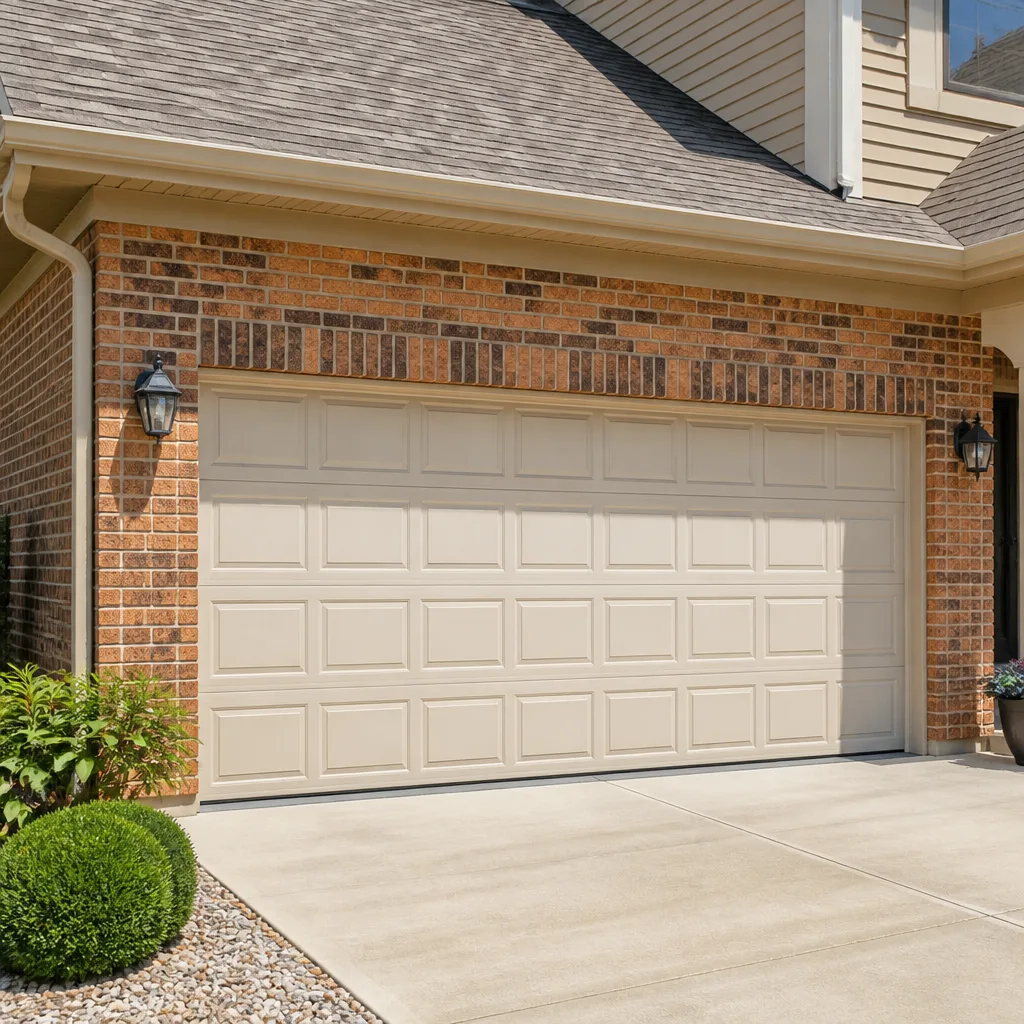 Raised-panel steel
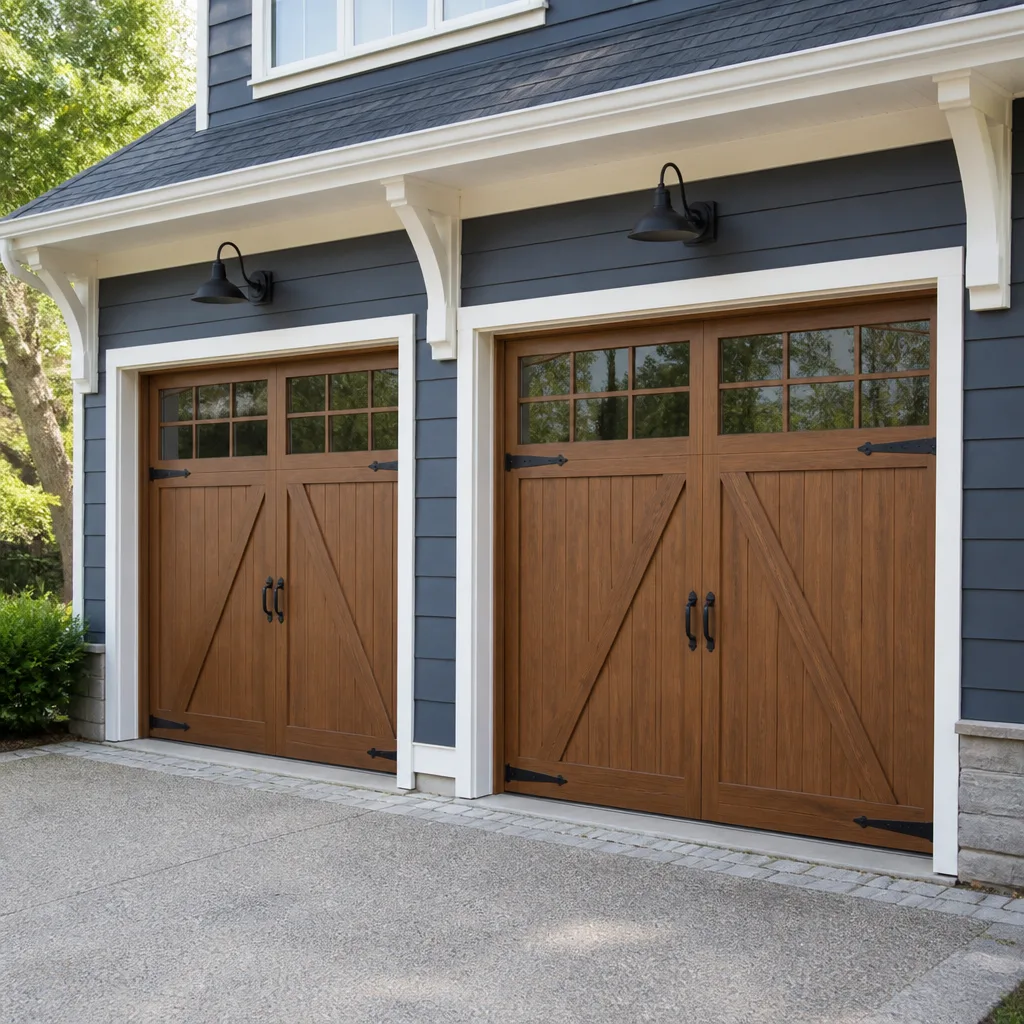 Carriage house
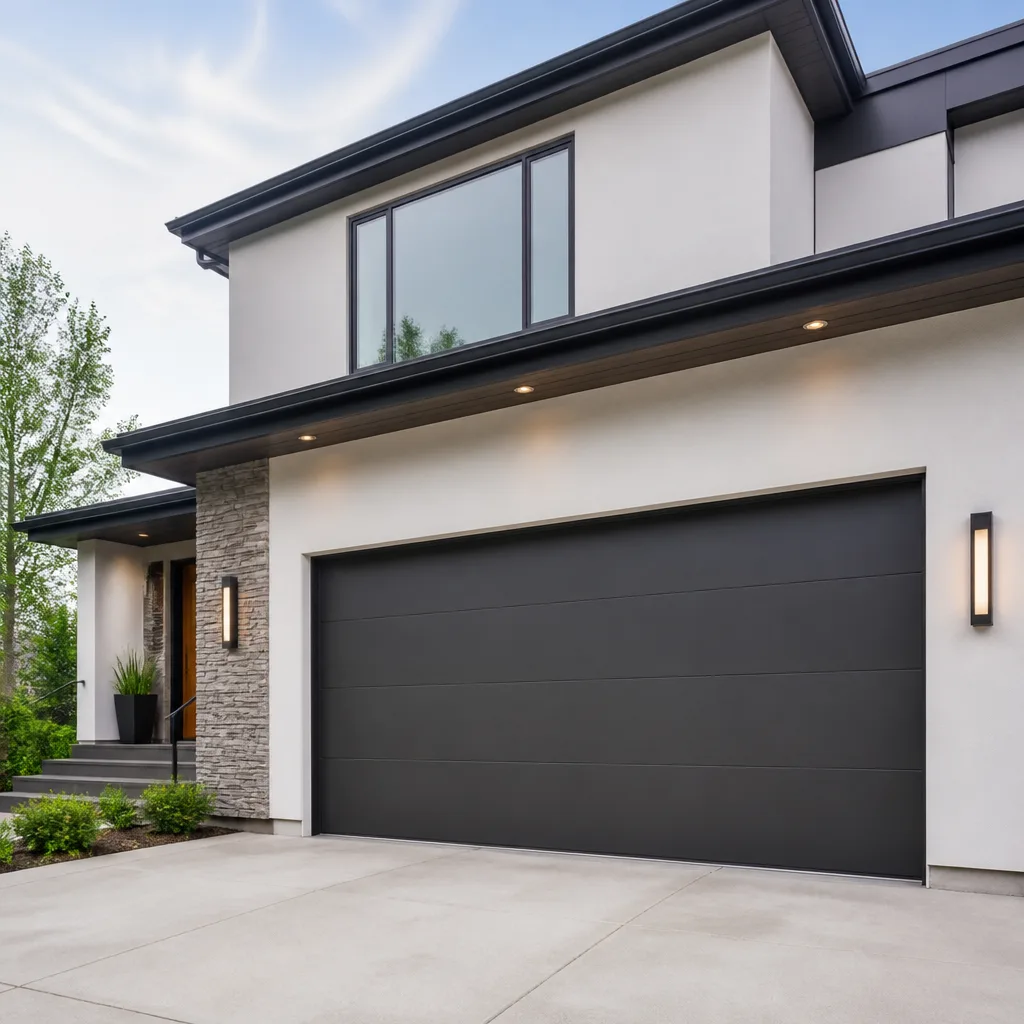 Modern flush
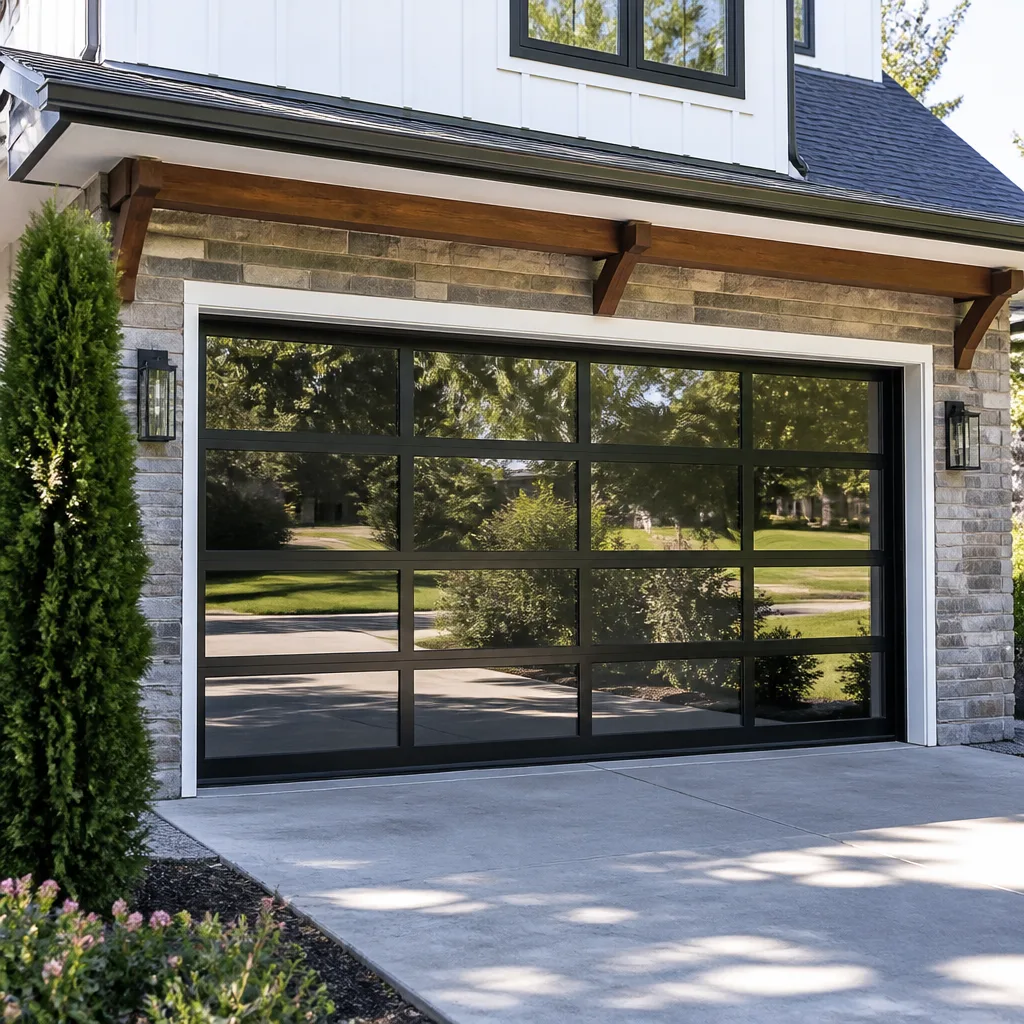 Full-view glass
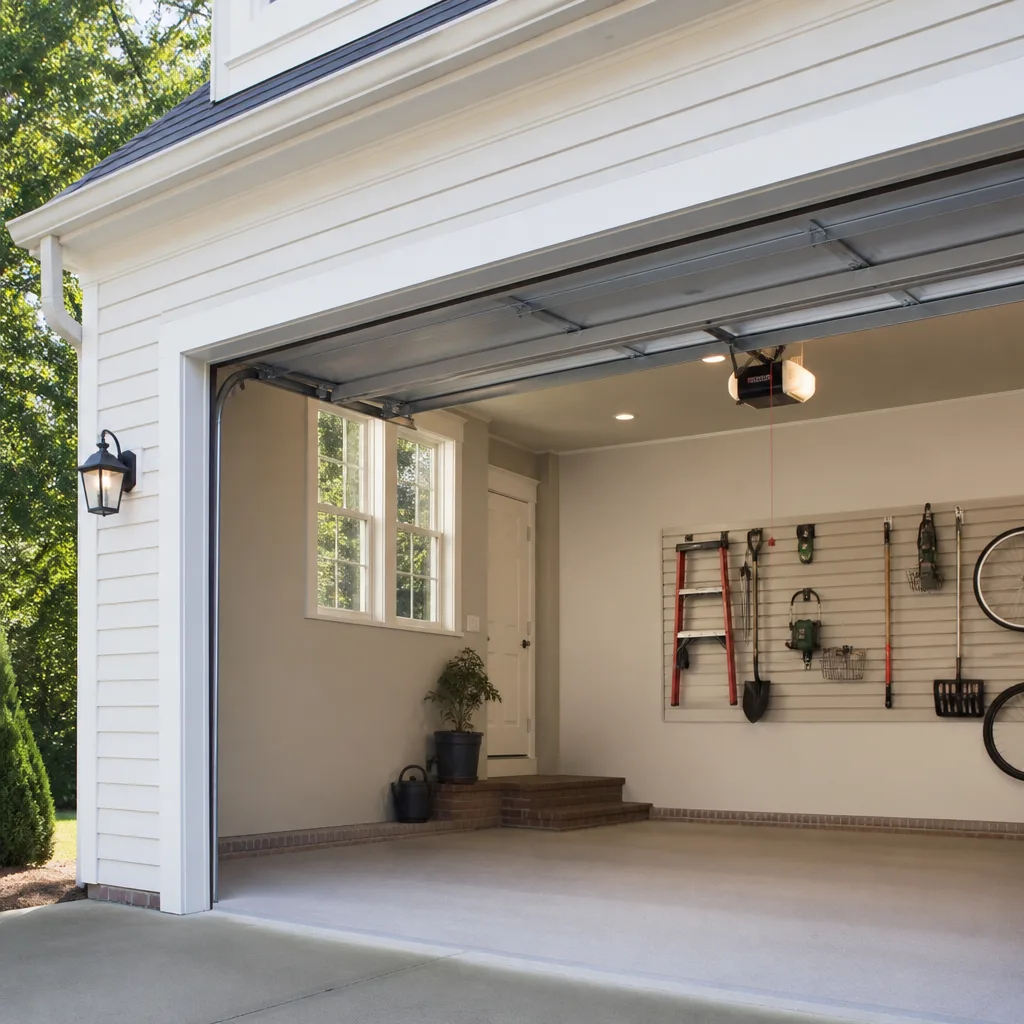 LiftMaster openers
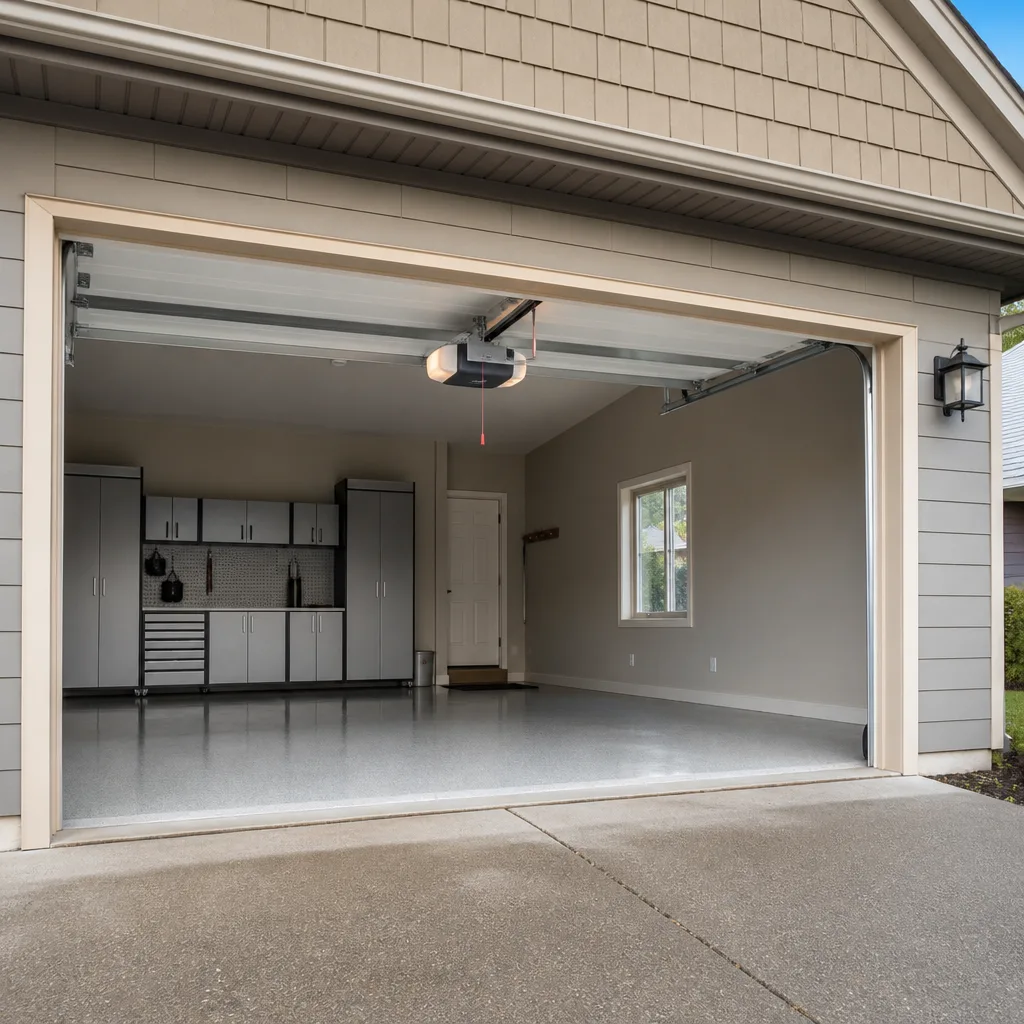 Chamberlain openers
Full 25-point door and opener safety check with every visit - springs, cables, rollers, tracks, and your LiftMaster or Chamberlain opener included
You get a price before we start. It does not change when the truck arrives.
Get your free estimateGarage Door Repair Troubleshooting: Common Problems and How to Fix Them
Here’s a number that surprises most homeowners: roughly 70% of garage door service calls we run in Aliso Viejo trace back to a part that was never the problem. The homeowner replaced the remote batteries, then the wall button, then maybe the opener itself, when the real fault was a broken tension spring they never looked at. Garage doors are simple machines with complicated failure patterns, and the symptom you notice first is rarely the component that failed. This guide walks through a cause-first method for diagnosing the eight most common garage door problems, the safe tests you can run yourself, and the ones you should never attempt. For additional help, explore our Garage Door Repair services.
Styles & brands we work with
- Raised-panel steel
- Carriage house
- Modern flush
- Full-view glass
- LiftMaster openers
- Chamberlain openers
Quick Answer
Garage door troubleshooting works best when you separate door problems (springs, cables, rollers, tracks) from opener problems (motor, logic board, sensors, remote signal), because each side fails differently and requires different fixes. Start with the three safe tests below: the balance test, the force resistance test, and the manual disconnect test. If your door fails any of them, the opener is usually not the culprit, and you can stop buying parts for the wrong system.
Table of Contents
- Symptom vs. Cause: Why the Obvious Fix Is Usually Wrong
- Door vs. Opener: The Distinction That Determines Everything
- The Three Safe Tests Every Homeowner Should Run
- The Eight Most Common Failure Modes, Mapped to Real Causes
- Why the Same Symptom Means Different Things on Different Brands
- What to Document Before the Technician Arrives
- Safety First: What to Never Do Yourself
- Common Mistakes to Avoid
- When to Call a Professional
- Frequently Asked Questions
- The Bottom Line
Symptom vs. Cause: Why the Obvious Fix Is Usually Wrong
A garage door that reverses before it closes is not always a sensor problem. It can be a limit switch that drifted out of calibration, a roller binding in a worn track, a broken cable creating uneven tension the opener interprets as resistance, or a travel obstruction the sensors never see because it sits above their beam line. Technicians who jump straight to “your sensors are dirty” are guessing, not diagnosing. And guessing is how homeowners end up paying for the same repair twice.
The reason this happens so often is structural. A garage door system has two independent halves: the mechanical door and the electronic opener. They interact constantly, but they fail separately. When the opener motor struggles, it’s usually reacting to a door problem, not creating one. When the door sags or binds, it’s usually a spring or cable issue, not an opener fault. If you treat the symptom without identifying the half that failed, you replace parts that were never broken and the problem returns within weeks.
We see this pattern regularly in Aliso Viejo, where coastal temperature swings cause metal tracks to expand and contract in ways that mimic sensor misalignment. A homeowner sees the door reverse, cleans the sensor lenses, replaces the batteries, and the door still reverses. What they actually have is a track that shifted just enough to increase rolling resistance past the opener’s force threshold. The fix is a track adjustment, not a new sensor.
Cause-first troubleshooting means treating every symptom as a starting point, not a conclusion. You work backward from what you see to what physically must be true for that symptom to occur, then you test each candidate cause. This method works across every door brand because it deals with physics first and electronics second.
Door vs. Opener: The Distinction That Determines Everything
The single most useful diagnostic question you can ask is this: is the problem in the door or the opener? The answer determines who can fix it safely and what it will cost. The door side includes the springs, cables, rollers, hinges, tracks, and the panels themselves. The opener side includes the motor, logic board, remote receiver, wall console, safety sensors, limit switches, and the rail assembly.
Here’s the practical difference. Door problems tend to be mechanical: things break, wear out, slip, or bind. Opener problems tend to be electrical or electronic: things lose calibration, fail intermittently, or stop responding. Door problems usually get worse over weeks. Opener problems often appear suddenly, sometimes after a power surge or after batteries are changed.
Here’s a quick way to think about it:
- Symptom appears when the opener is disconnected: it’s a door problem. If the door is heavy, uneven, or binding when you operate it manually, the opener is not the cause.
- Symptom disappears when the opener is disconnected: it’s an opener problem. If the door moves smoothly by hand but struggles under motor power, the opener or its settings need attention.
- Door makes noise but doesn’t move: this is almost always a door problem, typically a broken spring. The opener motor runs but the door won’t lift because the spring that counterbalances the weight has failed.
- Remote works intermittently or only at close range: this is almost always an opener problem, typically in the receiver, the remote, or radio interference from nearby devices.
This distinction matters for cost too. Replacing a safety sensor pair on a Genie opener might run $120 to $180. Replacing a broken torsion spring on a Clopay door might run $250 to $400. Replacing an entire opener when the problem was a worn roller set wastes $400 or more and doesn’t fix the issue. At Alder Garage Door Repair home, we work on both sides of the system, so the diagnosis covers the complete door and opener as one unit.
The Three Safe Tests Every Homeowner Should Run
Before you call anyone, run these three tests. Each takes under two minutes, requires no tools, and tells you whether you’re dealing with a door problem or an opener problem. None of these tests involve touching springs, cables, or any component under tension.
Test 1: The Balance Test
- Close the garage door completely.
- Pull the red emergency release handle to disconnect the opener from the door.
- Lift the door manually to the halfway point, then let go.
- Observe what happens.
Pass: The door stays in place at the halfway point, or drifts very slightly up or down before stopping. This means the springs are providing correct counterbalance.
Fail: The door drops quickly to the floor or shoots upward. A door that drops has a spring problem, typically a broken or fatigued spring. A door that shoots up has springs that are over-tensioned or were replaced with the wrong size. Either condition forces the opener motor to work against incorrect resistance, which shortens its life.
In Aliso Viejo, we regularly see spring fatigue on doors that face south or west, where afternoon sun heats the metal and accelerates stress cycling. The spring looks fine to the eye, but it has lost enough tension that the door no longer balances.
Test 2: The Force Resistance Test
- Keep the opener disconnected as in Test 1.
- Lift the door manually from fully closed to fully open, moving slowly and paying attention to resistance.
- Lower it back down the same way.
Pass: The door moves smoothly through the full travel with consistent, moderate effort. You feel no catching, binding, or grinding.
Fail: The door catches at a specific point, squeals, grinds, or requires extra force to pass a certain section of track. This indicates a roller, hinge, or track problem. Common causes include a bent track section, a roller with a failed bearing, or a hinge that has pulled loose from the panel.
This test is particularly useful because it isolates the mechanical door from the opener entirely. If the door binds manually, the opener’s force sensor will detect that binding and reverse, which looks like a sensor problem but isn’t.
Test 3: The Manual Disconnect Test
- With the door closed, pull the red emergency release handle.
- Try to lift the door manually.
- Note how much effort it takes.
Pass: You can lift the door with one hand using reasonable effort, and it stays up when fully open. This is a door with good spring balance.
Fail: The door won’t budge, is extremely heavy, or lifts a few inches and then slams shut. A door that won’t lift manually almost always has a broken spring. If the spring is broken, the full weight of the door, which can be 150 to 250 pounds for a typical two-car door, is now on the opener motor, which is not designed to lift that weight alone.
If you fail this test, stop using the opener immediately. Running the motor against a broken spring is the fastest way to destroy an otherwise healthy opener.
The Eight Most Common Failure Modes, Mapped to Real Causes
Here is the symptom-to-cause map we use in the field. Each symptom below is what the homeowner notices. Each cause is what we typically find after running the three tests above.
1. Door Reverses Before It Closes
Symptom: The door starts closing, gets partway down, then reverses and opens again. Sometimes it reverses at the same spot every time; sometimes the spot varies.
Most common causes, in order of likelihood:
- Worn or misaligned safety sensors: the infrared beam between the two sensors near the floor is interrupted, dirty, or out of alignment. This is the cause in roughly 40% of cases.
- Drifted limit switch: the opener thinks the door has traveled further than it has, so it reverses early.
- Increased track resistance: a binding roller or a bent track section makes the opener’s force sensor think something is in the way.
- Broken cable: one side of the door drops, the door goes crooked, and the opener reverses to prevent damage.
2. Door Doesn’t Respond at All
Symptom: Nothing happens when you press the remote or the wall button. No motor noise, no movement.
Most common causes:
- Dead remote batteries: the simplest explanation and the first thing to check.
- Locked wall console: many openers have a lock button that disables remote operation.
- Tripped breaker or unplugged opener: check the outlet the opener is plugged into.
- Failed logic board: less common but happens after power surges, which coastal Aliso Viejo gets during storm season.
3. Door Opens Partway Then Stops
Symptom: The door travels a few inches or a few feet, then stops. The motor may hum or go silent.
Most common causes:
- Broken spring: the opener motor cannot lift the full door weight alone and stalls.
- Obstructed track: something is physically blocking a roller or the door edge.
- Failed travel module: the opener’s internal positioning system has failed, common on older units.
4. Grinding or Squealing Noise During Operation
Symptom: The door moves but makes a grinding, squealing, or metallic scraping noise.
Most common causes:
- Dry or worn rollers: metal rollers without bearings grind against the track.
- Failed roller bearings: the roller wheel stops spinning and drags along the track instead.
- Opener gear failure: on chain-drive and screw-drive openers, a stripped gear inside the motor housing produces a grinding noise.
5. Door Shakes or Vibrates
Symptom: The door shudders, shakes, or vibrates as it moves, especially in the middle of travel.
Most common causes:
- Loose hardware: hinge bolts, track brackets, or opener mounting bolts have loosened over time.
- Loose chain or belt on the opener: the drive mechanism has stretched and needs tensioning.
- Bent panel: a damaged panel catches on the track or rubs against the door frame.
6. Loud Bang or Snap, Then the Door Stops Working
Symptom: You hear a loud bang or snap, often compared to a gunshot or a car backfiring, and then the door won’t move or moves very reluctantly.
Most common cause:
- Broken torsion spring: the most common cause of a loud snap. The spring, which is under hundreds of pounds of tension, breaks and releases that energy suddenly. This is a dangerous failure and the spring must be replaced by a trained technician.
- Broken cable: the cable snaps under load, which can also produce a loud sound.
7. Door Sags or Sits Unevenly
Symptom: The door looks crooked when closed, with one side lower than the other. Or the door sags visibly in the middle when open.
Most common causes:
- Broken or stretched cable on one side: one side of the door loses support and drops.
- Worn extension spring on one side: the tension is unequal left to right.
- Damaged panel: a cracked or bent panel sags under its own weight.
8. Remote Works Intermittently or Only at Close Range
Symptom: The remote opens the door sometimes but not always, or only works when you’re within a few feet of the opener.
Most common causes:
- Weak remote battery: the signal strength drops as the battery fades.
- Radio interference: LED bulbs in or near the opener can emit radio frequency interference that blocks the remote signal. This is more common than most people realize.
- Damaged remote: a cracked case or water damage affects the transmitter.
- Aging receiver board: older openers have receivers that lose sensitivity over time.
Why the Same Symptom Means Different Things on Different Brands
Here’s something that surprises most homeowners: the exact same symptom can have completely different root causes depending on which opener brand you own. The reason is that each manufacturer implements safety logic and force sensing differently.
A door that reverses before closing on a LiftMaster opener is frequently a limit switch or force adjustment issue, because LiftMaster units are aggressive about force monitoring and will reverse on resistance levels that other brands tolerate. The same symptom on a Genie opener often traces to the safety sensor circuit, because Genie’s sensor logic is more sensitive to beam interruption and less sensitive to force variance. On a Craftsman opener, which has shared parentage with Chamberlain for many model years, the reversal is often a travel module problem, a known weak point on certain Craftsman chains.
This is why brand-fluent diagnosis matters. A technician who only knows LiftMaster logic will misdiagnose a Genie problem. A technician who cuts their teeth on Chamberlain will misread a Wayne Dalton setup. At Alder Garage Door Repair, our technicians are trained across eight major brands, including LiftMaster, Genie, Craftsman, Wayne Dalton, Chamberlain, Clopay, Amarr, and Raynor. That cross-brand fluency means the diagnosis fits the equipment in your garage, not the equipment the technician is most comfortable selling.
We work on your brand, whatever it is. That’s not a slogan; it’s the operating principle. If you have a Raynor door with a Chamberlain opener and a Genie wall console, all of those need to be understood together, because they interact. A brand-neutral diagnosis treats the system as it sits and fixes what’s there when it can be fixed.
What to Document Before the Technician Arrives
Every homeowner has had a version of this conversation: the technician arrives, asks what the door was doing, and you suddenly can’t remember the details. You remember it was making a noise, but not when, or how often, or whether it happened on the way up or the way down. That lost information is diagnostic gold, and documenting it takes five minutes.
Here’s what to photograph and note before your technician arrives:
- The exact symptom, in writing: “Door reverses at the halfway point, every time, on the way down.” That specificity is worth more than a video of the door moving.
- When the symptom started: Did it appear suddenly or gradually? After a storm, after a power outage, after you replaced something?
- When the symptom occurs: Only in the morning? Only when it’s hot? Only when the car is parked inside? Patterns point to causes like temperature-sensitive electronics or track expansion.
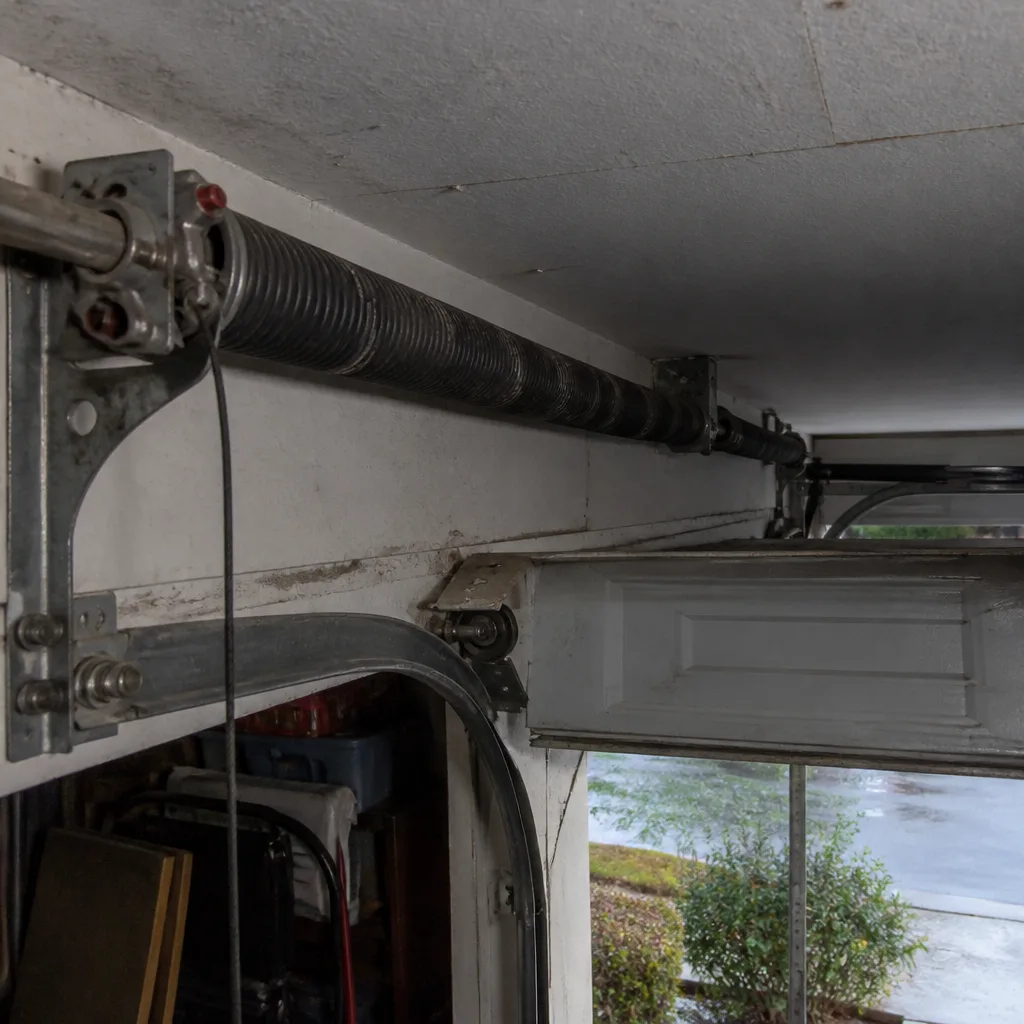
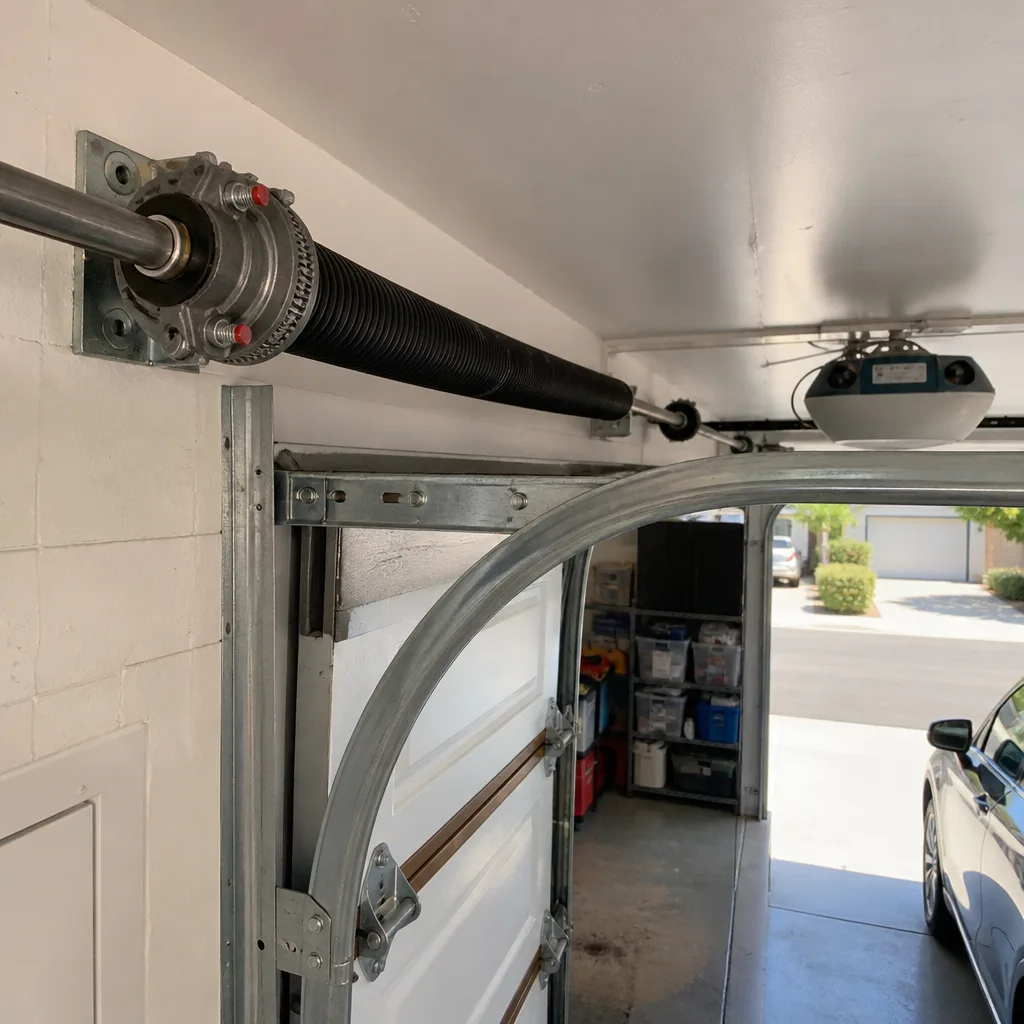
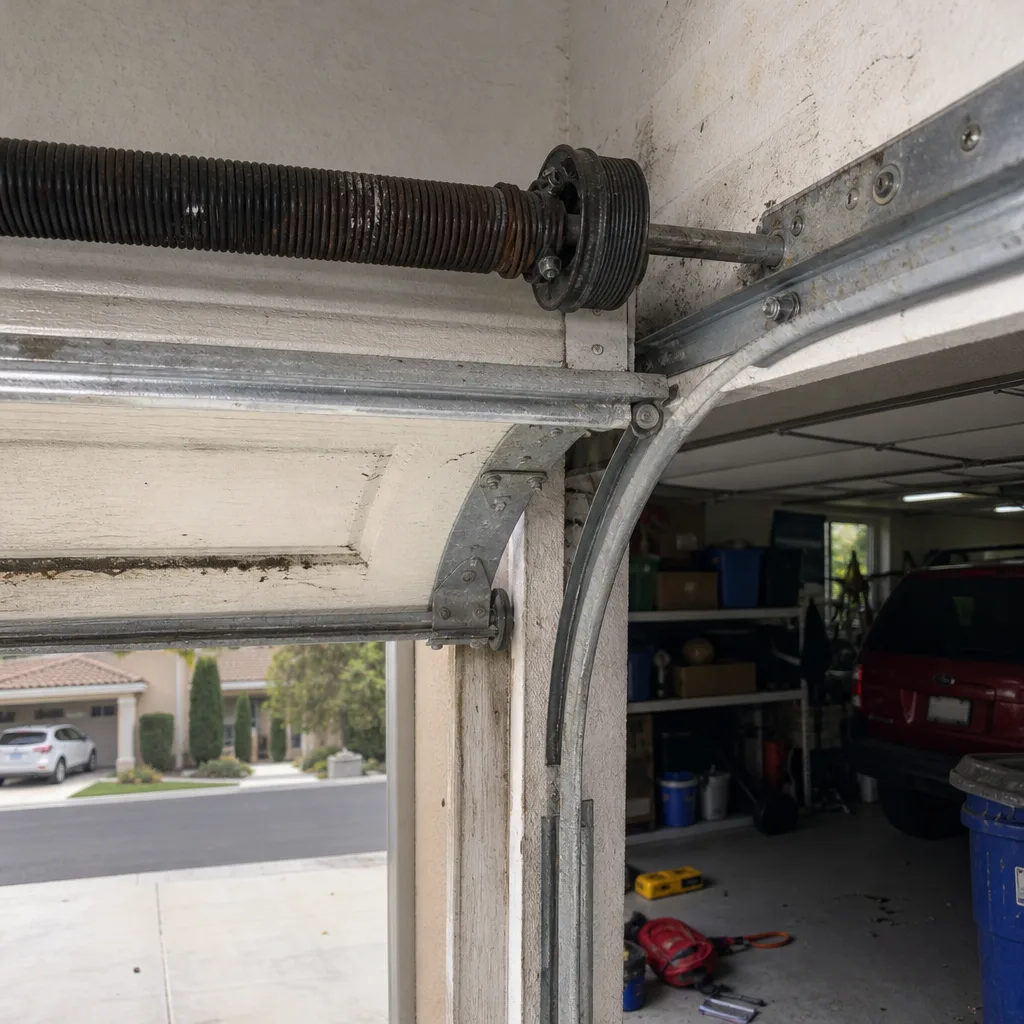
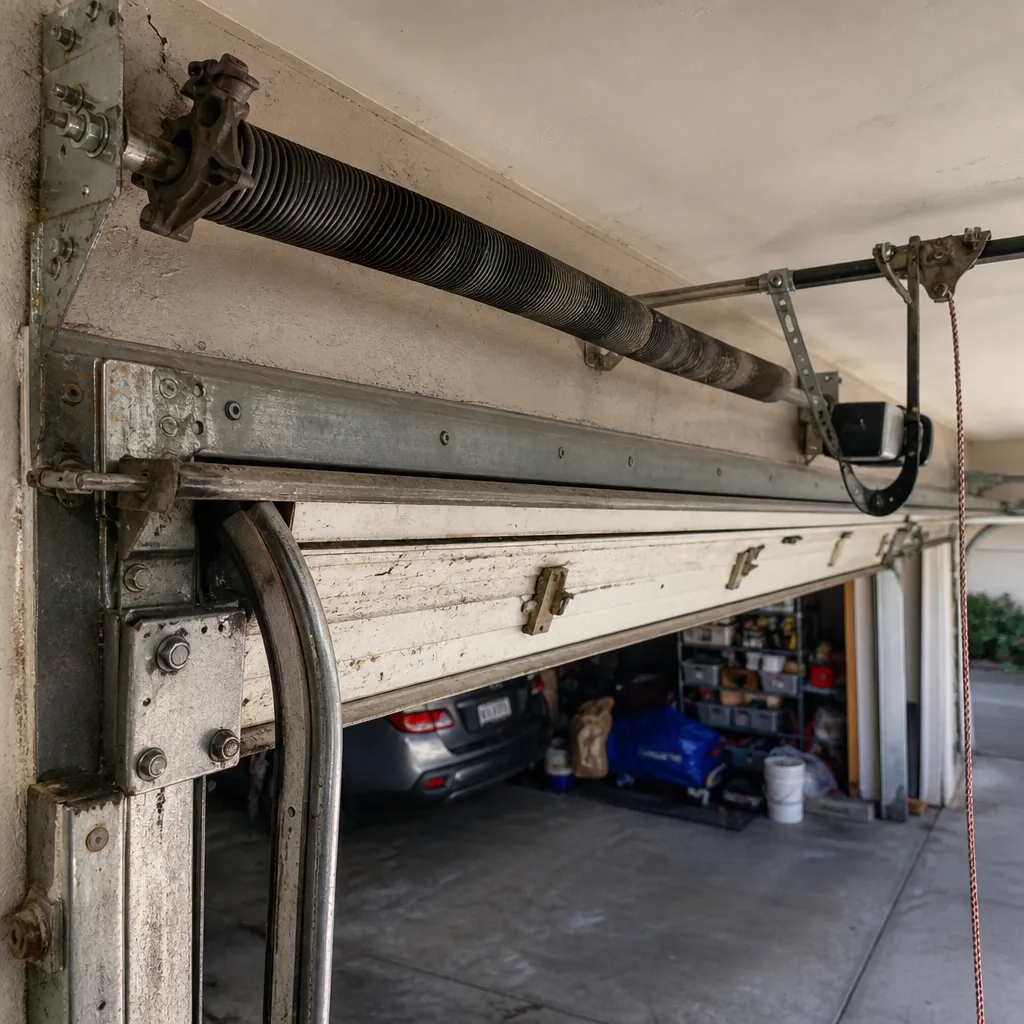
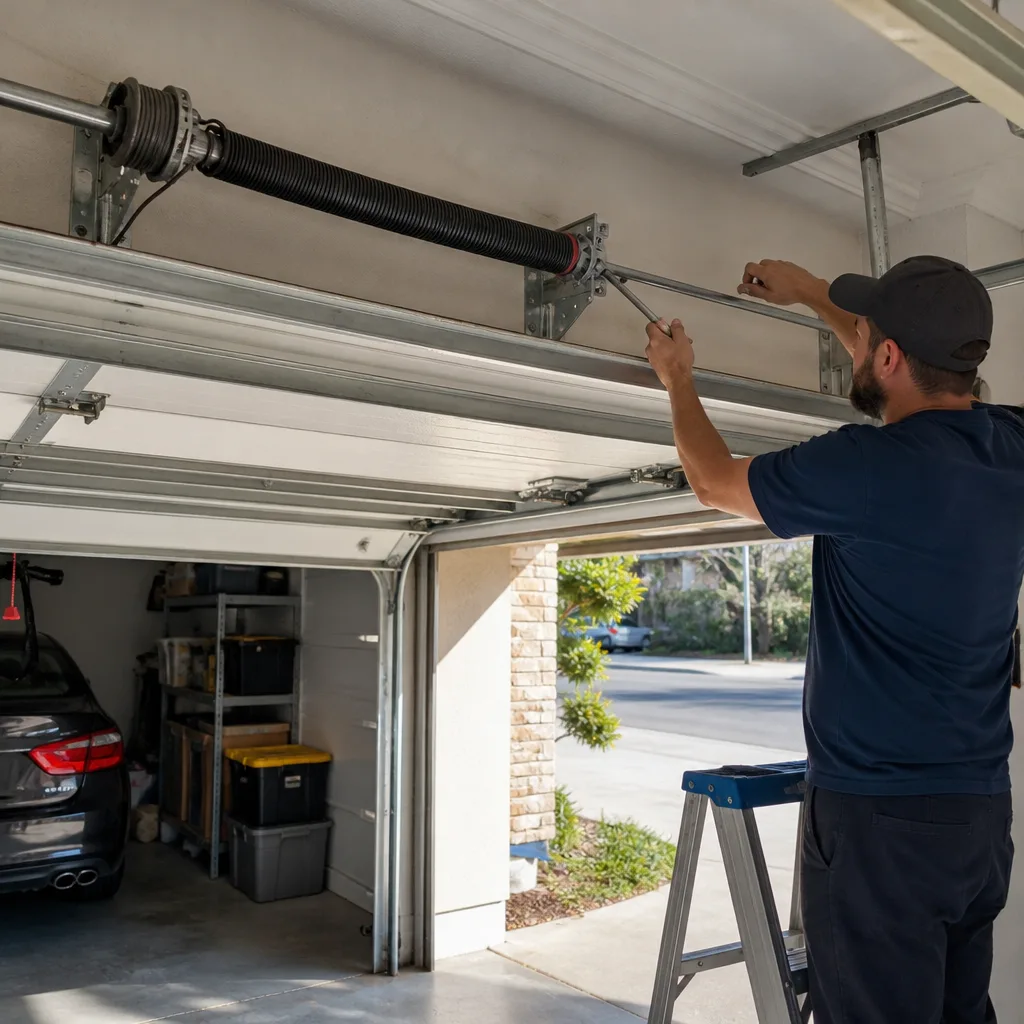
- Photos of the springs and cables: Stand inside the garage, door closed, and photograph the spring assembly above the door. If a spring is broken, it will show as a visible gap in the coil.
- Photos of both safety sensors: One on each side of the door, near the floor. Note whether the little LED light on each sensor is lit or blinking, and what color.
- The opener brand and model: The model number is usually on a sticker on the side or back of the motor housing. This tells the technician which safety logic to expect.
- A short video of the problem: Ten seconds of the door misbehaving is worth more than a full paragraph of description, especially for intermittent problems.
In Aliso Viejo, where many homes have garages that face onto tight alleys or shared driveways, a quick video also helps the technician understand the space before arriving, which speeds up the visit.
Safety First: What to Never Do Yourself
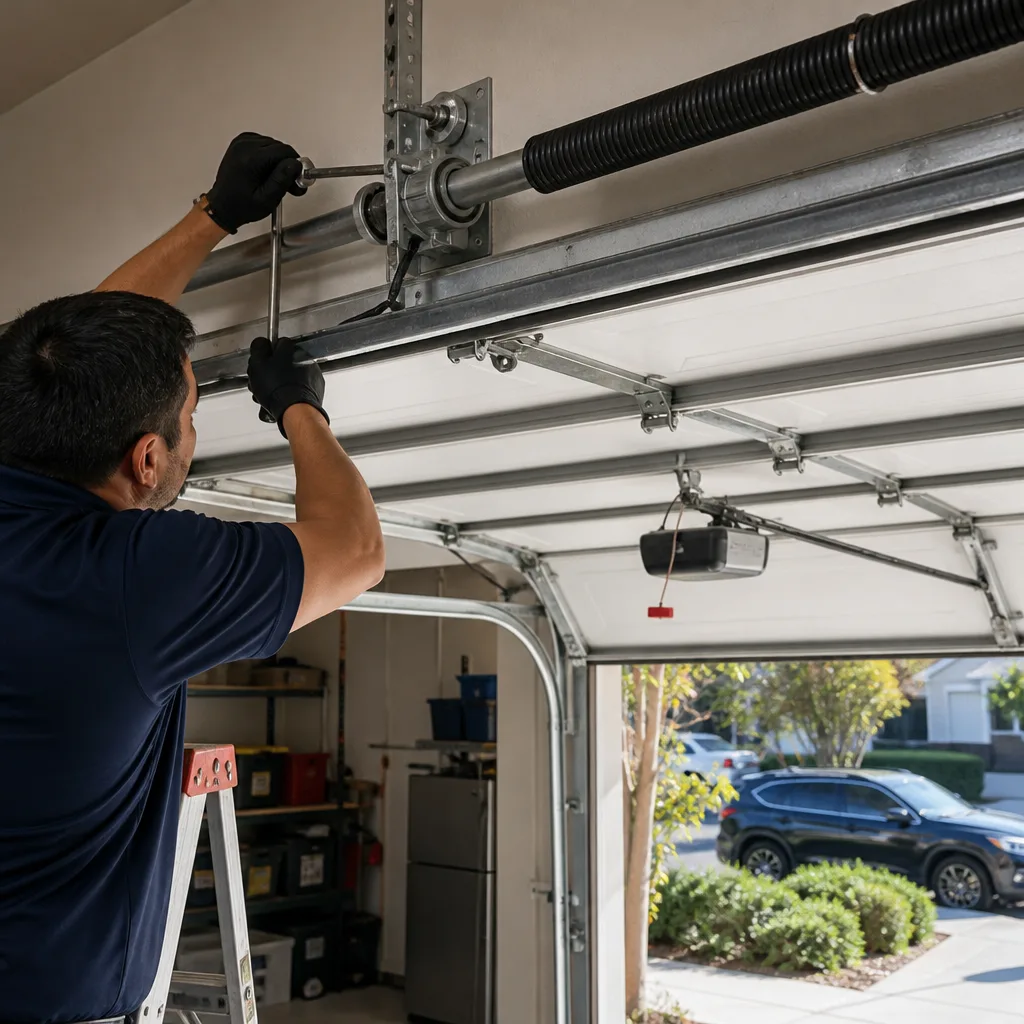
Some parts of a garage door system are genuinely dangerous and should only be handled by a trained professional with proper tools. The torsion spring is the most dangerous component in most homes. It is wound under enough tension to lift a 200-pound door, and when it releases that energy suddenly, it can cause serious injury or death. Do not attempt to adjust, replace, or even inspect a torsion spring closely. The same applies to extension springs and the cables that work with them.
Here is the non-negotiable safety list:
- Never touch a torsion spring or extension spring that appears damaged, rusted, or broken. Even a “relaxed” broken spring can have residual tension in one section.
- Never remove a cable from a drum or pulley. Cables are under the same tension as the springs.
- Never stand under a partially open garage door to inspect it. If a spring or cable fails while you’re underneath, the door drops with its full weight.
- Never attempt to straighten a bent track with the door attached. The track is under load and can spring free.
- Never replace a roller in the bottom bracket without first releasing spring tension. The bottom bracket is the attachment point for the cables and carries the spring load.
If your door has failed the balance test or the manual disconnect test, the right move is to leave the door in whatever position it’s in, disconnect the opener, and call a professional. The cost of a spring replacement is far less than the cost of an emergency room visit or a crushed vehicle.
Common Mistakes to Avoid
- Replacing the opener when the spring is broken. A broken spring makes the door too heavy for the opener to lift. Replacing the opener doesn’t fix the spring, and the new opener will fail prematurely under the same load. Fix the spring first.
- Cleaning the sensors when the track is the problem. Sensor lenses can get dusty, especially in Aliso Viejo’s dry season, but a reversal caused by track resistance will persist after the lenses are clean. Run the force resistance test to rule out mechanical resistance before blaming the sensors.
- Lubricating everything with WD-40. WD-40 is a solvent and water displacer, not a garage door lubricant. It strips existing grease and leaves metal parts dry. Use a silicone-based or lithium-based garage door lubricant on rollers, hinges, and the opener rail. Never lubricate the spring itself; it doesn’t need it and the lubricant attracts dust.
- Adjusting the opener force settings to “fix” a door that binds. Increasing the force limit on the opener to overcome a binding door masks the underlying problem and creates a safety hazard. The door should move smoothly with modest force. If it doesn’t, the mechanical side needs attention.
- Ignoring a sagging door because “it still works.” A sagging door signals uneven cable tension or a failing spring. The longer it runs in that state, the more damage it does to the tracks, the rollers, and the opener motor.
- Replacing the remote when the problem is LED interference. LED bulbs near the opener can flood the radio frequency the remote uses. Try replacing the bulbs with garage-door-rated LEDs before buying a new remote.
- Using the door as a workbench or propping it open with objects. A garage door that’s partially open is supported only by the springs and opener. Propping it with a ladder or a piece of wood creates a false sense of security and can damage the door edge if it slips.
When to Call a Professional
If your door fails any of the three tests above, call a professional. If the door is sagging, if you see a visible gap in a spring, if the cables look frayed or slack, or if the door makes a grinding noise that persists after lubricating the rollers, these are all signs of mechanical failure that need a trained technician. Opener logic problems, travel module failures, and intermittent remote issues can sometimes be resolved with adjustments, but if the problem returns after you’ve checked the basics, the diagnosis belongs in professional hands.
Garage Door Repair in Aliso Viejo covers the full mechanical side: springs, cables, rollers, tracks, hinges, and panels. If the problem turns out to be in the opener, Garage Door Opener Repair in Aliso Viejo handles the electronic and motor side. And if the door is beyond repair, Garage Door Installation in Aliso Viejo covers full door replacement. One call, one company, the whole system covered. Alder Garage Door Repair offers free estimates in Aliso Viejo. Call (855) 382-4001 and we’ll diagnose the problem correctly the first time.
Frequently Asked Questions
Garage door repair in Aliso Viejo typically runs between $120 and $400 depending on the component. A roller replacement or track adjustment is on the lower end; a torsion spring replacement is on the higher end. The exact price depends on your door brand, the spring size, and whether the opener also needs service. We quote the full price before any work starts, so you’ll never see a surprise line item. Call (855) 382-4001 for an exact quote on your system and the work is priced and agreed before anything is touched. You can also browse our more guides & resources for additional homeowner tips.
A garage door that reverses when closing is usually caused by a safety sensor issue, a force setting problem, or increased track resistance. Run the three tests above to narrow it down. If the door binds when operated manually, the sensors are probably fine and the track or rollers need attention. If the door moves smoothly by hand but reverses under motor power, the problem is likely in the opener’s settings or sensor circuit.
No. Torsion springs and extension springs are under extreme tension and can cause serious injury or death if mishandled. Spring replacement requires specialized tools and training. If you suspect a broken spring, disconnect the opener and leave the door alone. Call a professional. The cost of a spring replacement is modest compared to the risk of attempting it yourself.
You’ll usually hear a loud snap or bang when the spring breaks. Afterward, the door won’t lift, or the opener motor runs but the door barely moves. Look above the door while it’s closed: a broken torsion spring will show a visible gap in the coil, typically a two-inch gap where the spring has separated. If you see that gap, do not touch the spring. Call a technician.
Yes. Our technicians are trained on eight major brands: LiftMaster, Chamberlain, Genie, Clopay, Amarr, Wayne Dalton, Craftsman, and Raynor. We work on your brand, whatever it is, and we fix what’s there when it can be fixed. We’re not incentivized to sell you a replacement when a repair will do. Call (855) 382-4001 and tell us what’s happening; we’ll tell you what it likely is and what it will cost to fix.
Most garage doors can be repaired. The exceptions are doors with structural panel damage, severe rust-through, or doors that have been repeatedly repaired and are no longer cost-effective to maintain. A good diagnostic-first technician will tell you honestly when a replacement makes more financial sense than another repair. Our recommendation is always based on the condition of your specific door, not on what we’d rather sell you.
The Bottom Line
Garage door troubleshooting is a process of elimination, and the elimination has to happen in the right order. Start with the three safe tests: balance, force resistance, and manual disconnect. Those tests tell you whether the problem lives in the door or the opener, and that answer determines everything that follows. Don’t replace parts based on symptoms alone; the symptom that gets your attention is almost never the component that failed. And when in doubt, call a professional who can diagnose across brands. Alder Garage Door Repair offers free estimates in Aliso Viejo. Call (855) 382-4001 and get the right fix the first time.
Written by the team at Alder Garage Door Repair, serving Aliso Viejo since 2017.
See the difference
 Before
 After
 Before
 After
 Before
 After