
Last updated November 2, 2026
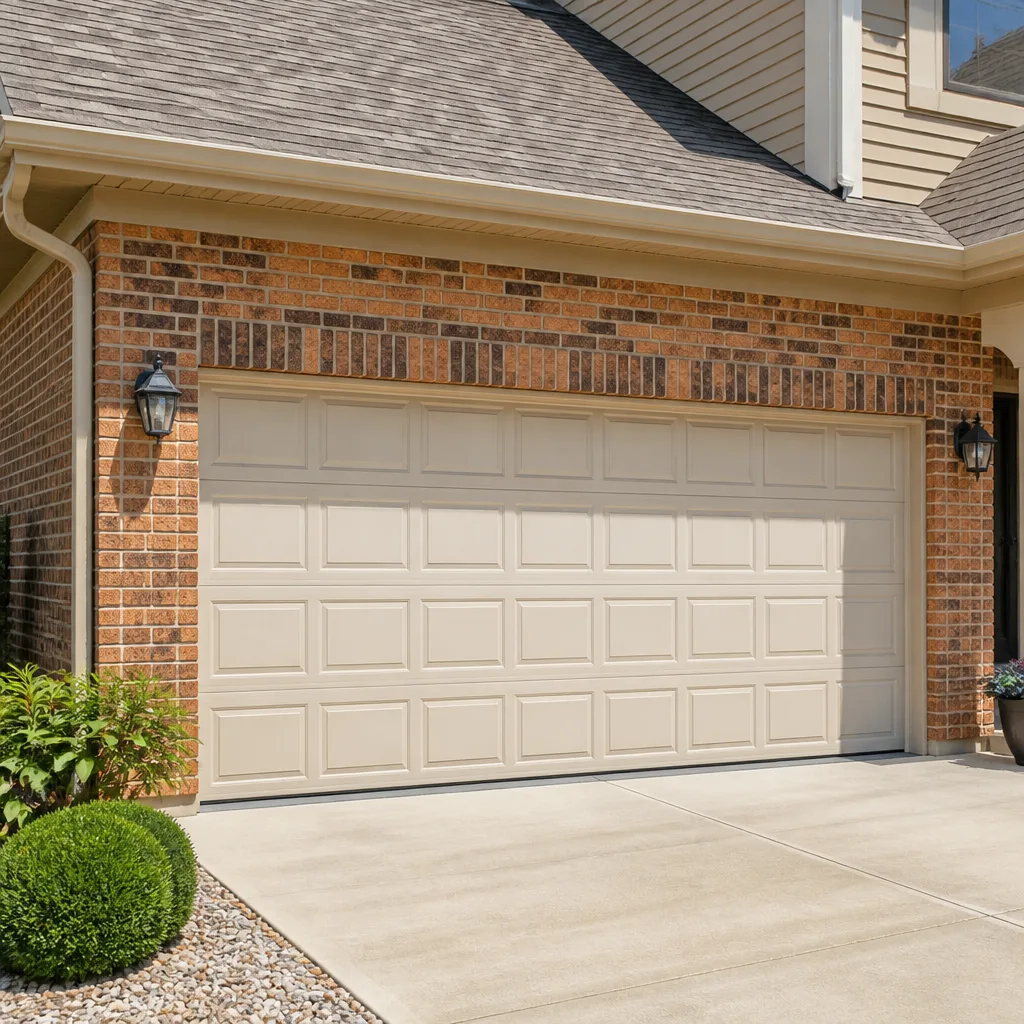 Raised-panel steel
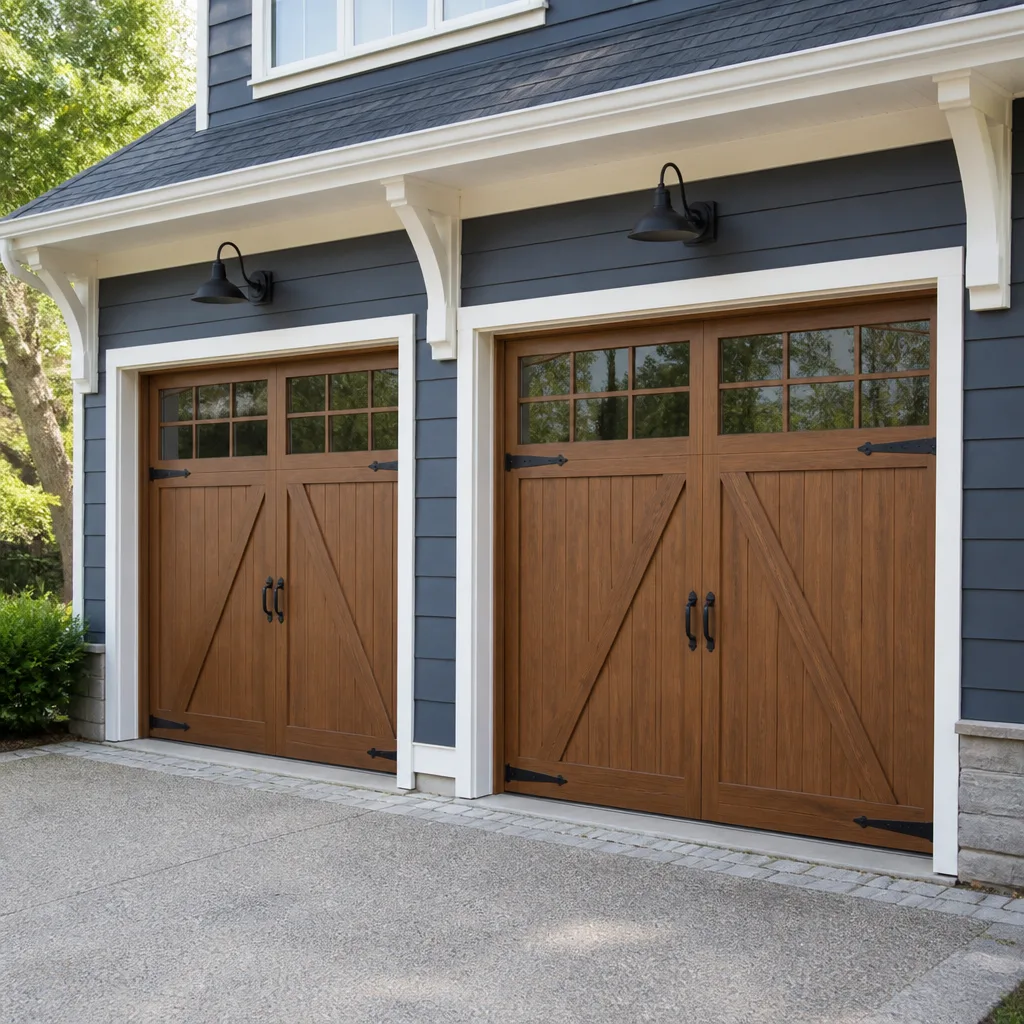 Carriage house
 Modern flush
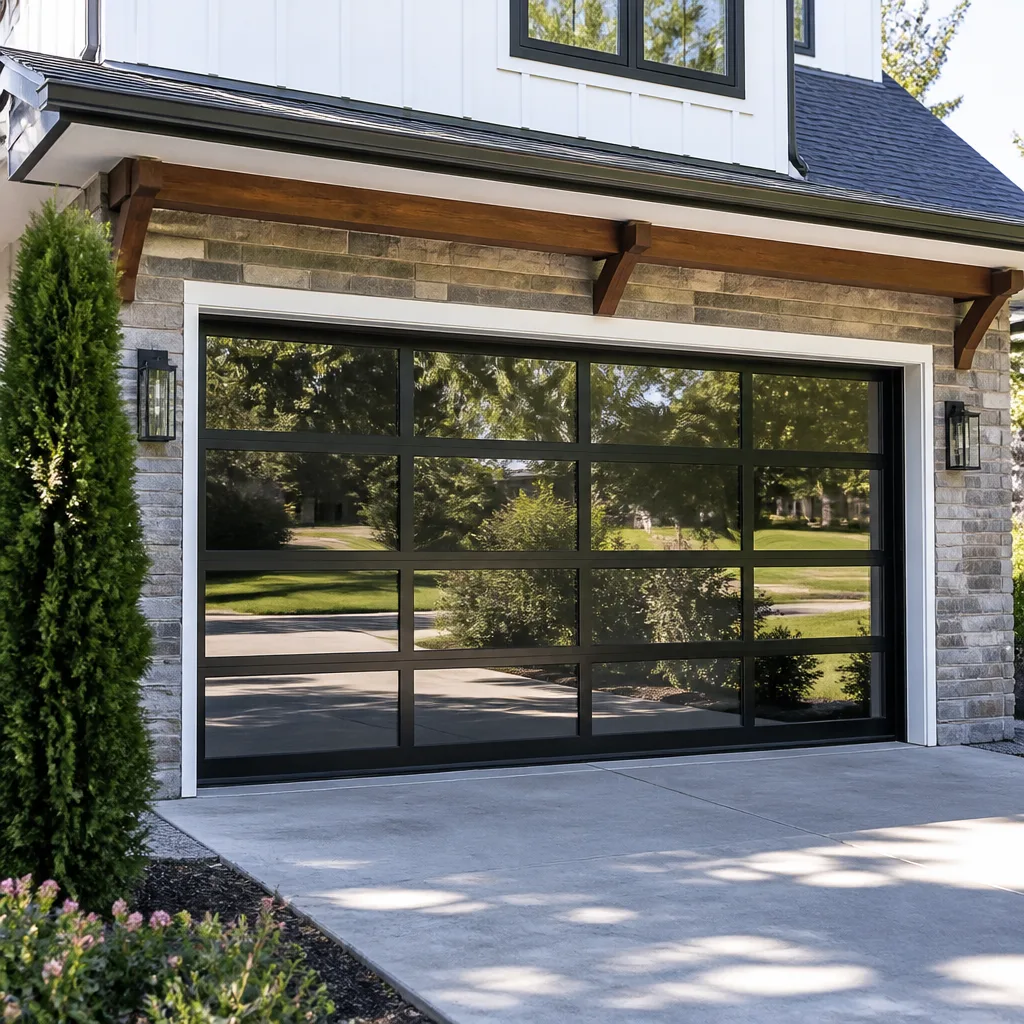 Full-view glass
 LiftMaster openers
 Chamberlain openers
Full 25-point door and opener safety check with every visit - springs, cables, rollers, tracks, and your LiftMaster or Chamberlain opener included
You get a price before we start. It does not change when the truck arrives.
Get your free estimateDIY vs Professional Garage Door: The Aliso Viejo Homeowner’s Decision Guide
A torsion spring on a standard two-car garage door stores roughly 100 foot-pounds of torque when fully wound. That’s enough stored energy to break a wrist, crush fingers, or send a winding bar through drywall at highway speed. Yet the same YouTube session that walks you through spring replacement also teaches you how to repaint a weather-worn panel, a task with essentially zero risk that plenty of Aliso Viejo homeowners outsource unnecessarily. This guide separates garage door work into three clear tiers: what’s genuinely safe for a careful homeowner, what requires mechanical comfort and the right tools, and what belongs in the hands of a brand-trained professional. We’ll cover costs, tools, warranty fine print, and how to spot an upsell from across the driveway.
Quick Answer
Most garage door maintenance and cosmetic work, like repainting, weatherstripping replacement, and sensor cleaning, is safe for an Aliso Viejo homeowner with basic tools and patience. But any task involving torsion springs, extension springs, cables under tension, or opener logic board repair carries injury risk specific to stored mechanical energy, and those jobs call for a professional who handles them daily. The practical rule: if the component stores energy when the door is closed, don’t work on it yourself. In our experience, that line separates maybe 20% of garage door tasks from the other 80%.
Styles & brands we work with
- Raised-panel steel
- Carriage house
- Modern flush
- Full-view glass
- LiftMaster openers
- Chamberlain openers
Table of Contents
- Tier One: Garage Door Tasks Any Capable Homeowner Can Do
- Tier Two: Jobs That Require Mechanical Comfort and the Right Tools
- Tier Three: Stored-Energy Work That Belongs to a Professional
- The Tool Cost Reality Check
- What Voided Warranties Actually Look Like
- How to Spot a Contractor Upsell
- The Hybrid Approach: Pre-Diagnosis Before the Technician Arrives
- Common Mistakes to Avoid
- When to Call a Professional
- Frequently Asked Questions
Tier One: Garage Door Tasks Any Capable Homeowner Can Do
Some garage door work is closer to housekeeping than mechanical repair, and Aliso Viejo’s coastal-adjacent climate makes regular maintenance a practical way to extend door life. Salt-tinged air from the nearby coast accelerates surface rust on steel panels and hardware, so a semi-annual visual inspection catches small problems before they become service calls.
Here’s what we tell homeowners they can confidently handle themselves:
- Repainting panels: A drill with a wire brush attachment, a quart of exterior metal paint, and painter’s tape is the whole toolkit. Aliso Viejo’s mild weather means paint cures well almost year-round, and a repainted door can add several years of curb appeal before replacement enters the conversation.
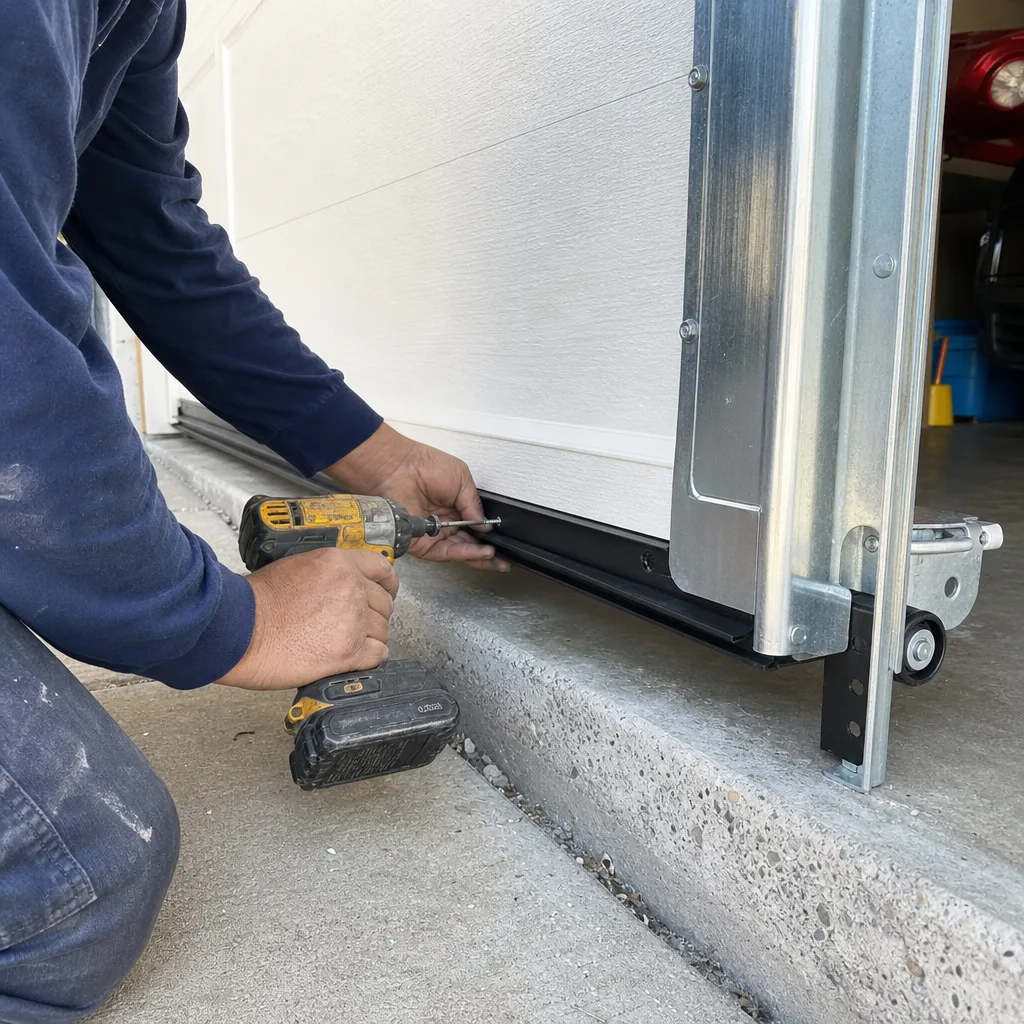
- Weatherstripping and bottom seal replacement: The rubber strip along the bottom of the door degrades in UV exposure and takes about 30 minutes to slide out and replace. It costs under $40 at any hardware store and improves garage insulation immediately.
- Sensor cleaning and alignment: Photo-eye sensors get dusty, and Aliso Viejo’s dry summer months kick up fine particulate that fogs the lens. A dry microfiber cloth and a bubble level fixes most “door won’t close” complaints that aren’t mechanical.
- Track lubrication: White lithium grease on hinges, rollers, and the lock mechanism, applied every six months, reduces motor strain and door noise. Don’t grease the track itself, just the moving parts.
- Roller replacement on non-tension tracks: Nylon rollers with visible wear can be swapped on standard vertical-track doors without touching the spring system. The roller sits in the track bracket and pops out with the door in the up position.
None of these tasks require specialized equipment or involve the spring assembly. We’ve watched too many Aliso Viejo residents pay a service fee for weatherstripping that any teenager could replace in half an hour. Save the labor charge for work that actually needs labor.
Tier Two: Jobs That Require Mechanical Comfort and the Right Tools
This middle tier is where DIY goes sideways most often, not because the work is dangerous but because people start with the wrong tools. A homeowner who’d confidently rebuild a bicycle derailleur can handle these; someone who’s never held a torque wrench should probably stop at Tier One.
These tasks involve the door’s mechanical systems but no stored spring energy in the active work zone:
- Opener remote and keypad reprogramming: Every major opener brand, including Garage Door Opener Repair in Aliso Viejo work we handle, publishes programming instructions in the manual or online. The learning is straightforward: press the learn button, press the remote button, done. Where homeowners run into trouble is with older Raynor or Craftsman units that have quirky sequence requirements. A 20-minute YouTube session usually solves it.
- Limit switch adjustment: When a door closes too far or reverses before reaching the floor, the limit screws on the opener need a quarter-turn adjustment. This is a screwdriver job. But it’s also a job where patience matters: small turns, test the cycle, repeat. Rushing it causes the door to slam or never fully close, and Aliso Viejo’s nighttime temperature swings can make a one-eighth turn’s difference between “sealed” and “gap.”
- Gear and sprocket replacement on LiftMaster and Chamberlain openers: The plastic drive gear inside many LiftMaster units is a designed wear point, and replacing it takes about an hour with a socket set, needle-nose pliers, and a YouTube video. The gear kit costs $25-$50. The catch: you’ll have the opener head open on a ladder, and reassembly order matters. If you’d enjoy the process, it’s a satisfying fix. If you’d resent the hour, call a professional.
- Spring pad and hardware tightening: Nuts and bolts on door hinges, track brackets, and the opener rail vibrate loose over time, especially on homes near Aliso Viejo’s busier thoroughfares where delivery trucks and construction traffic send low-frequency vibration through the slab. A socket set and a ladder covers most of it. Just don’t touch anything within 12 inches of the spring assembly.
The common thread in Tier Two work: the door can stay in the down position with the opener unplugged, and you’re never working against tension. You’re removing a part, putting a new one in, and the springs remain exactly as they were.
Tier Three: Stored-Energy Work That Belongs to a Professional
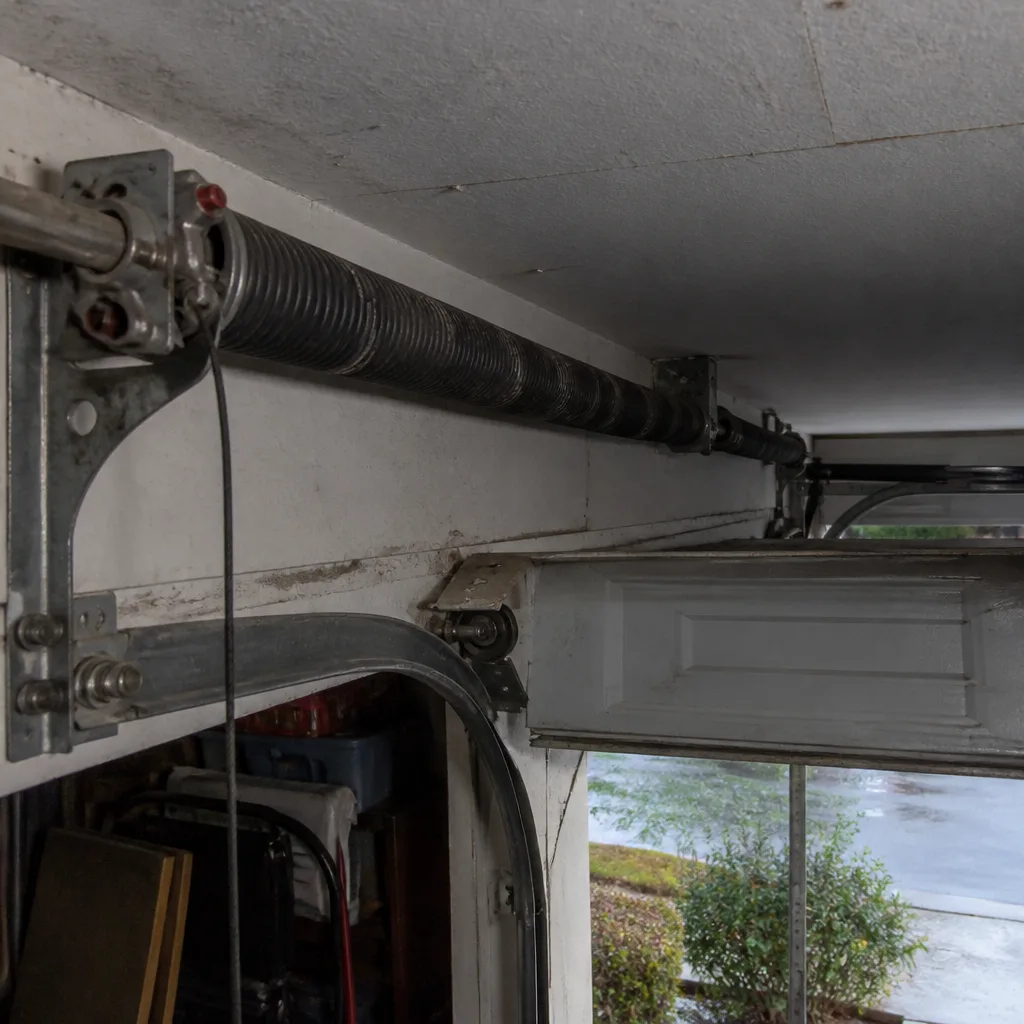
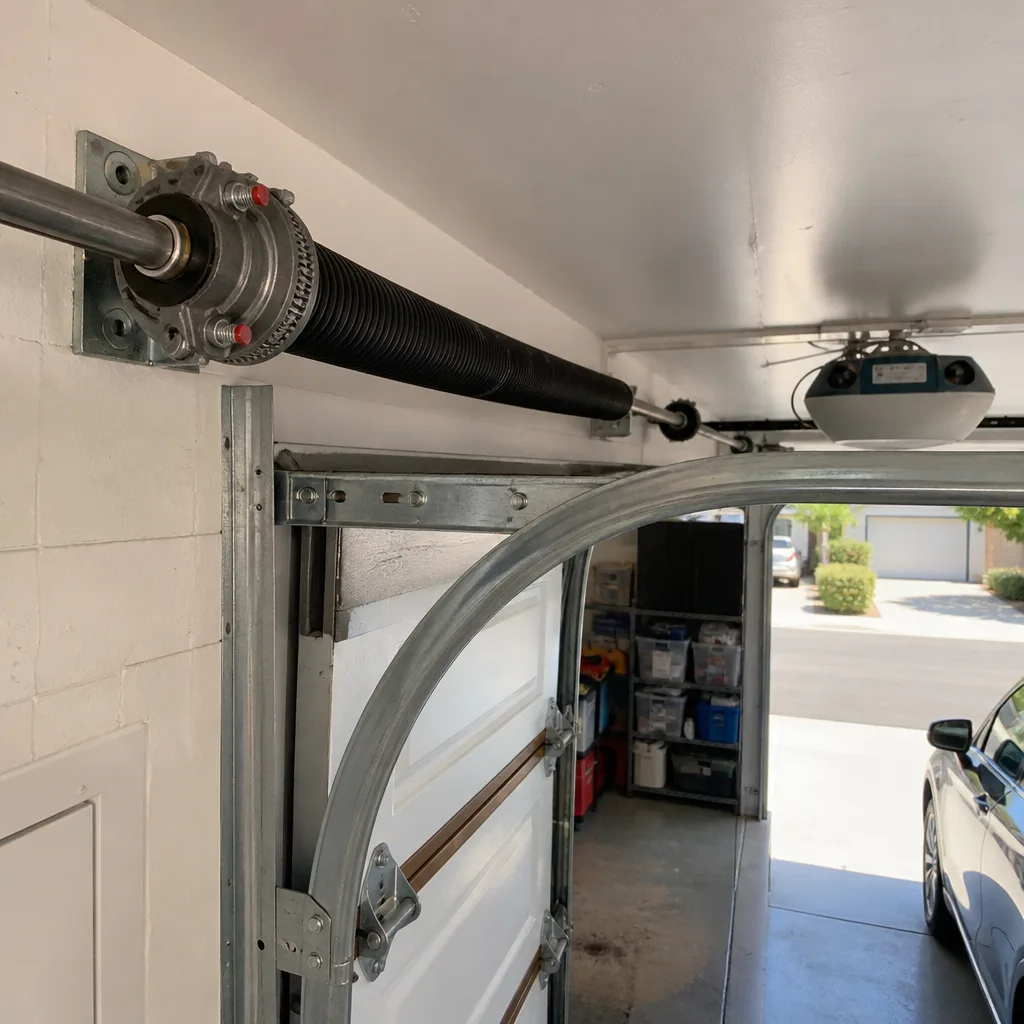
Here’s the line. Torsion springs, extension springs, and the cables that connect them to the door bottom are under constant load. Every second, closed or open, those springs hold hundreds of pounds of force. When a cable snaps on an extension spring system, the broken end whips through the air fast enough to remove fingers. When a torsion spring lets go during an amateur adjustment, the winding bar can punch through a car windshield or a forearm.
What makes this category different isn’t that the task is intellectually hard. It’s that the failure mode is a serious injury rather than a broken part. A professional handles this work with specific procedures:
- Dedicated winding bars: Not screwdrivers, not pry bars. Torsion spring winding bars are hardened steel rods sized to the spring cone’s socket. A screwdriver tip shears off under load and becomes shrapnel.
- Counted winding and unwinding sequences: Springs are tensioned by quarter-turns, with the count tracked against the door’s weight and height. Losing count mid-installation means starting over with the door braced.
- Under-load cable handling: Professionals remove and replace cables with the door locked in the up position so the springs are at their lowest tension point. An amateur trying this with the door down is working against maximum load.
- Full-system inspection before tension changes: A spring that’s broken on one side often means the other side is close behind. A professional checks bearing wear, end plate condition, and door balance before putting new springs under tension.
In Aliso Viejo specifically, we see torsion spring failures spike after the Santa Ana wind season. Dry, gusty conditions kick sand and debris into the spring coils, accelerating wear on the metal. A homeowner who notices the door getting heavier over several months and then hears a loud crack from the garage, that’s a spring. Call before you touch anything.
When a spring or cable lets go, the door often locks in a half-open position with the opener motor still trying to move it. The correct first step is pulling the emergency release, not forcing the opener. Then call a professional. This is the moment where YouTube confidence causes hospital visits.
The Tool Cost Reality Check
One of the most common justifications for DIY garage door work is “I’ll save the labor.” But you should price the tools before you price the labor, especially for Tier Two and Tier Three work. Some jobs genuinely break even or cost more once tools are factored in, particularly if you’ll never use those tools again.
Here’s what the typical tool investment looks like:
- Winding bars for torsion springs: A proper pair of hardened bars runs $60-$90. Cheap bars bend under load. Most homeowners will use them once. This is the single biggest argument against DIY spring work – the safe tools cost real money, and improvisation with screwdrivers or rebar is how injuries happen.
- Opener gear and sprocket job: A basic socket set covers it, but you’ll want a torx bit set for certain Chamberlain and LiftMaster models, adding $15-$30 if you don’t already own one.
- Weatherstripping replacement: $20-$40 for the seal, and a utility knife you already own. This one’s unambiguously worth doing yourself.
- Full door installation: A professional-grade torsion spring winder, a 12-foot level, a laser alignment tool, and clamps run several hundred dollars. This is not a DIY budget situation for a one-time job. This is where Garage Door Installation in Aliso Viejo becomes the sensible call.
The honest math: if the tools cost half of what the professional charges, and you’ll never touch them again, you’re paying for an education and accepting a risk. Sometimes that’s worth it. For spring work, it rarely is. For sensor cleaning and weatherstripping, the tools are already in your kitchen drawer.
What Voided Warranties Actually Look Like
Homeowners hear “you’ll void the warranty” often enough that it becomes background noise. The underlying truth is more nuanced, and reading the actual warranty documents with Aliso Viejo homeowners is something we do regularly during Garage Door Repair in Aliso Viejo service visits. Some DIY work genuinely voids coverage. Most doesn’t.
Here’s what the major manufacturers actually state in their warranty agreements:
- Spring replacement voids the spring warranty only, but often the door and opener warranties survive. LiftMaster, Chamberlain, Genie, and Raynor warranty their openers separately from door hardware. If you replace a Clopay door’s springs yourself and the opener motor fails two months later, the opener warranty typically remains intact because the opener manufacturer can’t attribute motor failure to spring work, unless there’s evidence the door was run unbalanced and the motor burn is traceable to that condition.
- Opener logic board surgery voids the opener warranty. Opening the motor head and modifying the circuit board ends any warranty conversation. Replacing a remote or keypad does not.
- Lubrication and weatherstripping have zero warranty interaction. These tasks are explicitly listed as homeowner maintenance in most owner manuals, and doing them does not affect coverage.
- Track adjustment and realignment on doors with lifetime limited hardware warranties can trigger a claim denial. If a track was adjusted by a homeowner, then a roller or hinge fails, the manufacturer may argue improper alignment caused premature wear. This is where documentation matters: photos before and after, and a receipt for the tools you used to confirm you had the proper equipment.
The practical takeaway: the warranty risk sits almost entirely in Tier Three work and opener internals. Tier One work carries no warranty risk. Tier Two work carries limited risk, mostly around track alignment. When in doubt, call the manufacturer with your model number before opening the toolbox. Their customer service answer is usually the definitive one.
How to Spot a Contractor Upsell
Not every garage door professional deserves the title, and not every repair recommendation is honest. We’ve been called to Aliso Viejo homes where a previous company quoted a full door replacement for what turned out to be a $140 part and an hour of labor. The consumer’s best defense is knowing what questions to ask before the quote turns into a signed work order.
When a contractor recommends a repair or replacement, ask these diagnostic questions:
- “What specifically is failing, and can you show me the wear or damage?” A legitimate professional will point to the stress cracks in a spring, the play in a bearing, the burned contacts on a relay. Someone padding a quote will gesture vaguely at the whole door. If they won’t show you the problem, get a second opinion.
- “Is there a repair option, or is replacement the only path?” Torsion springs fail and need replacement – no repair path exists. But a noisy opener with a worn gear can often be repaired for a fraction of new-opener cost. A panel with rust can be repainted. A professional who skips straight to “new door” without explaining why the existing one can’t be fixed deserves skepticism.
- “Does this repair affect the other components?” Here’s the honesty test. A spring replacement may reveal worn cables that should be replaced at the same time, and a good technician flags that. A technician who either recommends unnecessary add-ons or misses necessary ones tells you something about their diagnostic rigor.
- “What happens if we delay this repair?” Some issues are immediate: a broken spring means the door won’t open, and forcing it damages the opener. A worn roller can wait weeks. A professional should be able to explain the urgency gradient honestly rather than pushing everything as an emergency.
One reality check for Aliso Viejo homeowners: our brand-agnostic service model means we repair LiftMaster and Chamberlain openers on the same day we repair Raynor doors and Genie openers. There’s no inventory motive pushing a replacement. When a technician doesn’t have a financial stake in selling a particular brand, the diagnostic questions above get answered more straightforwardly. That’s not a sales pitch; it’s a structural argument for choosing a repair-first company over a dealer with a showroom to clear.
The Hybrid Approach: Pre-Diagnosis Before the Technician Arrives
You don’t have to choose between pure DIY and writing a blank check. The smart middle path in Aliso Viejo involves doing the diagnostic groundwork yourself, then handing a professional a precise problem description that reduces diagnostic time and billable hours. Think of it as triage: you’re not performing surgery, you’re describing the symptoms accurately so the surgeon arrives ready.
Here’s what we tell homeowners to prepare before calling for service:
- Record the door’s full cycle on video. Start closed, watch it open, pause at the top, then close fully. A 30-second phone video captures hesitation, noise, jerking, and timing issues that a verbal description can’t convey. We ask Aliso Viejo customers to text this video before we arrive whenever possible.
- Locate and note the model numbers. The opener model plate sits on the motor head, usually visible from a step ladder. The door manufacturer’s label is on the inside edge of a panel, often near the bottom. Model numbers tell a technician which parts to bring before ever seeing the door.
- Test only the safe things. With the door closed, press the wall button and listen: does the motor hum but not engage? Does the door start then reverse? Does nothing happen? These observations narrow the diagnosis to motor, sensor, or power supply before a single tool comes out.
- Note when the problem started and what changed. Aliso Viejo’s recent weather, any construction nearby, a previous repair, a power outage – these contextual details help a technician identify whether the issue is environmental or age-related.
- Don’t touch anything under tension. Your diagnostic homework ends at observation. If the door is stuck partially open with visible cable slack, note it and back away. A precise description of a dangerous condition helps a professional prepare for the worst-case scenario without you being the one to discover it.
This pre-diagnosis work is the highest-value DIY labor a homeowner can perform. It requires no tools, carries zero risk, and often cuts diagnostic time by half. We’ve had Aliso Viejo customers hand us a video, a model number, and a symptom timeline, and we’ve walked in with the right parts and completed the repair in one visit instead of two. That’s the difference between paying for a diagnosis and paying for a repair.
Common Mistakes to Avoid
- Using screwdrivers as winding bars on torsion springs. A screwdriver tip shears at the socket point under load. The tool becomes a projectile, and your hand is in the path. This is the single most common garage door DIY injury we hear about in Aliso Viejo, usually described as “the screwdriver slipped.” It didn’t slip. It failed.
- Assuming the opener is the problem when the door is unbalanced. When a door gets heavier on one side, the opener motor strains against the imbalance. The opener often burns out secondarily, and replacing the opener without fixing the balance means you’ll replace it again in a year. In Aliso Viejo’s spring season, temperature swings change spring tension slightly, and an unbalanced door in March can become a burned motor by August.
- Lubricating the track instead of the rollers and hinges. Grease on the track attracts dust, and Aliso Viejo’s dry season produces a lot of it. The resulting paste slows the rollers and makes the door louder. Lubricate the moving parts, wipe the track clean, and leave it dry.
- Forcing the opener when the door hits an obstruction. The opener has a reverse mechanism for a reason. Holding the wall button down to muscle through a resistance teaches the opener to ignore its safety logic and accelerates motor wear. This is a fast way to turn a blocked sensor into a burned motor.
- Buying universal replacement parts that aren’t actually universal. “Universal” garage door remotes work with many brands, but not all, and definitely not all model years. A Raynor opener from 2005 speaks a different frequency than one from 2018. When a universal remote doesn’t pair, the homeowner blames themselves, then buys another “universal” remote, then calls a professional anyway after spending more than the service would have cost.
- Treating springs as a two-person job where one person “holds” the tension. Torsion spring work is a solo task done with proper winding bars and a counted sequence. A second person doesn’t add safety; they add a second person in the path of a potential failure. Extension spring work is even worse: if a cable slips, both people are at risk from opposite directions.
When to Call a Professional
Call a professional when the door won’t open or close and you can see any slack in a cable, any visible gap in a spring coil, or any indication the door is caught mid-cycle with the opener still engaged. Call when you hear a loud crack from the garage, when the door drops faster than normal on the way down, or when the door jerks side to side during operation. Call when the opener motor runs but the door doesn’t move, which points to a stripped gear or a broken coupler inside the motor head. Alder Garage Door Repair offers free estimates in Aliso Viejo, and our technicians arrive with the training to diagnose your specific door and opener brand whether it’s a Craftsman from the late 90s or a new Raynor. The call is (855) 382-4001. We don’t upsell you on a replacement door when a repair resolves the problem.
Frequently Asked Questions
Spring replacement in Aliso Viejo typically runs $180 to $340 per spring, including the part and labor, with most homeowners replacing both springs at once to maintain balance and avoid a second service call within months. The price varies by spring wire size, door weight, and whether you have a torsion or extension system. Call (855) 382-4001 for an exact quote, and we’ll give you a firm price before any work begins.
Yes, but only if the panel is mid-door, not a bottom panel with a cable attachment. A mid-door panel on a sectional door unbolts from the adjacent panels and can be swapped with a helper, as long as you don’t touch the spring hardware. A bottom panel involves the cable anchors under tension, and that job should go to a professional. For panel replacement on any brand, Garage Door Repair in Aliso Viejo is a call away.
Most garage door replacement projects on existing openings in Aliso Viejo do not require a city permit, because the structural opening remains unchanged. If you’re enlarging the opening, adding windows that affect the facade, or modifying structural framing, a permit may come into play. Check with Aliso Viejo’s building department before starting any structural work. For straightforward door-in-existing-opening replacements, a licensed contractor handles the job without permit delays.
With a reputable company, no. The price you’re quoted over the phone should match the price on the work order unless the technician finds a secondary issue that requires your approval before proceeding. At Alder Garage Door Repair, we quote a firm price before any work starts, and if we find a related problem during the repair, we stop, show you the issue, and get your sign-off before adding anything to the invoice.
A quality opener from LiftMaster, Chamberlain, Genie, or Raynor lasts 10 to 15 years in Aliso Viejo with regular lubrication and balance maintenance. Coastal-adjacent humidity can shorten the life of exposed circuit boards slightly, while Santa Ana wind seasons deposit fine grit that accelarates gear wear. If your opener is over 12 years old and making unusual noise, Garage Door Opener Repair in Aliso Viejo might be a stopgap or a long-term fix depending on what we find.
A door that reverses before closing usually points to misaligned photo-eye sensors, a blocked sensor lens, or a limit switch setting that’s drifted too low. Aliso Viejo’s dry, dusty summers are a common culprit: a film of dust on the sensor lens looks like an obstruction to the opener’s safety logic. Clean the lens first with a dry cloth, then check alignment. If the problem persists, the limit screw needs adjustment or the logic board is failing. Call (855) 382-4001 and we’ll diagnose it over the phone before scheduling anything.
The Bottom Line
The DIY-versus-professional decision for Aliso Viejo garage doors isn’t a moral one, it’s a mechanical one. If the component you’re about to touch stores energy when the door is closed, that’s a professional’s job, full stop. If it’s a surface, a seal, a sensor, or a remote, the average homeowner can handle it with basic tools and YouTube patience. Between those poles lives Tier Two: gear replacement, limit switch work, programming quirks where the right tools and a methodical approach make DIY genuinely reasonable. We wrote this guide so you can make that call with confidence, because we’d rather see you spend $20 on weatherstripping yourself than pay us to do it, and we’d rather see you call before touching a spring than after the hospital visit. Whatever your garage door needs, Alder Garage Door Repair home is here for the jobs that require a trained professional.
Written by the team at Alder Garage Door Repair, serving Aliso Viejo since 2017.
See the difference
 Before
 After
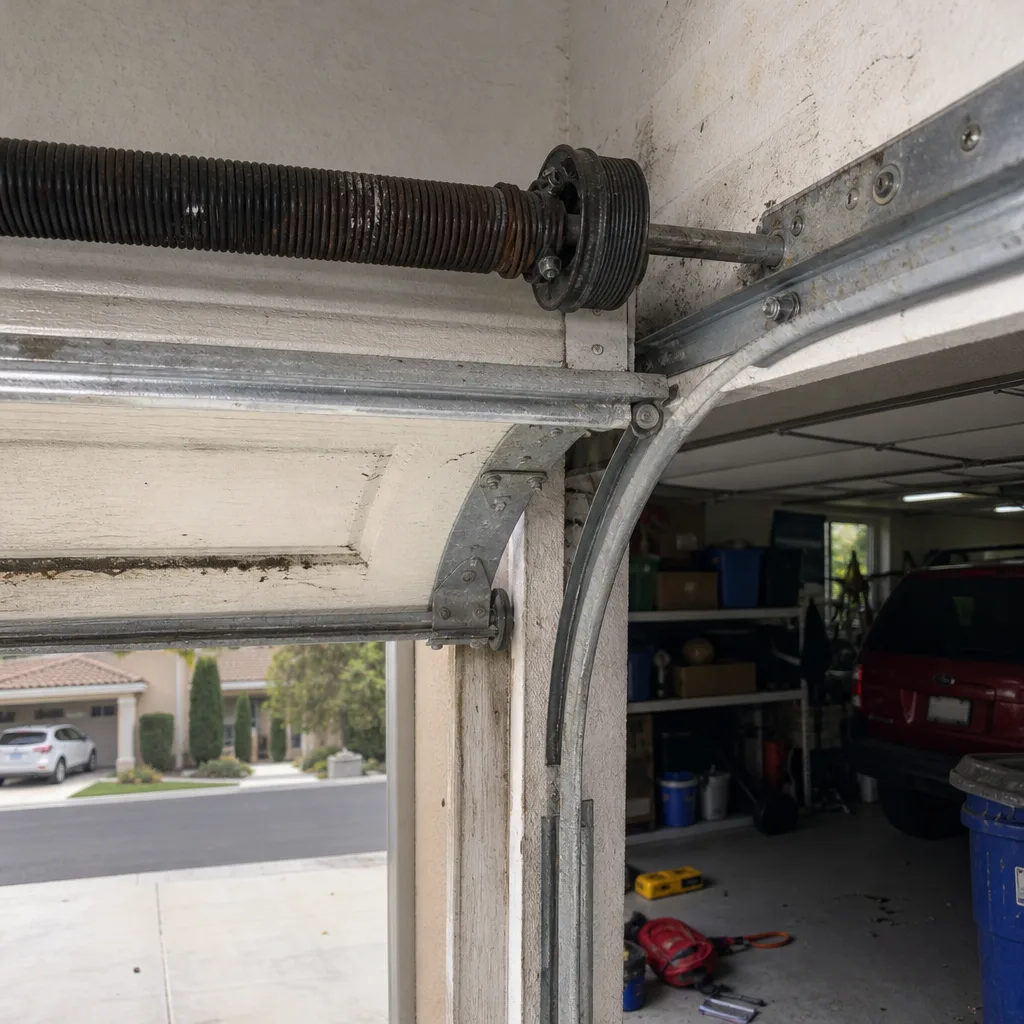 Before
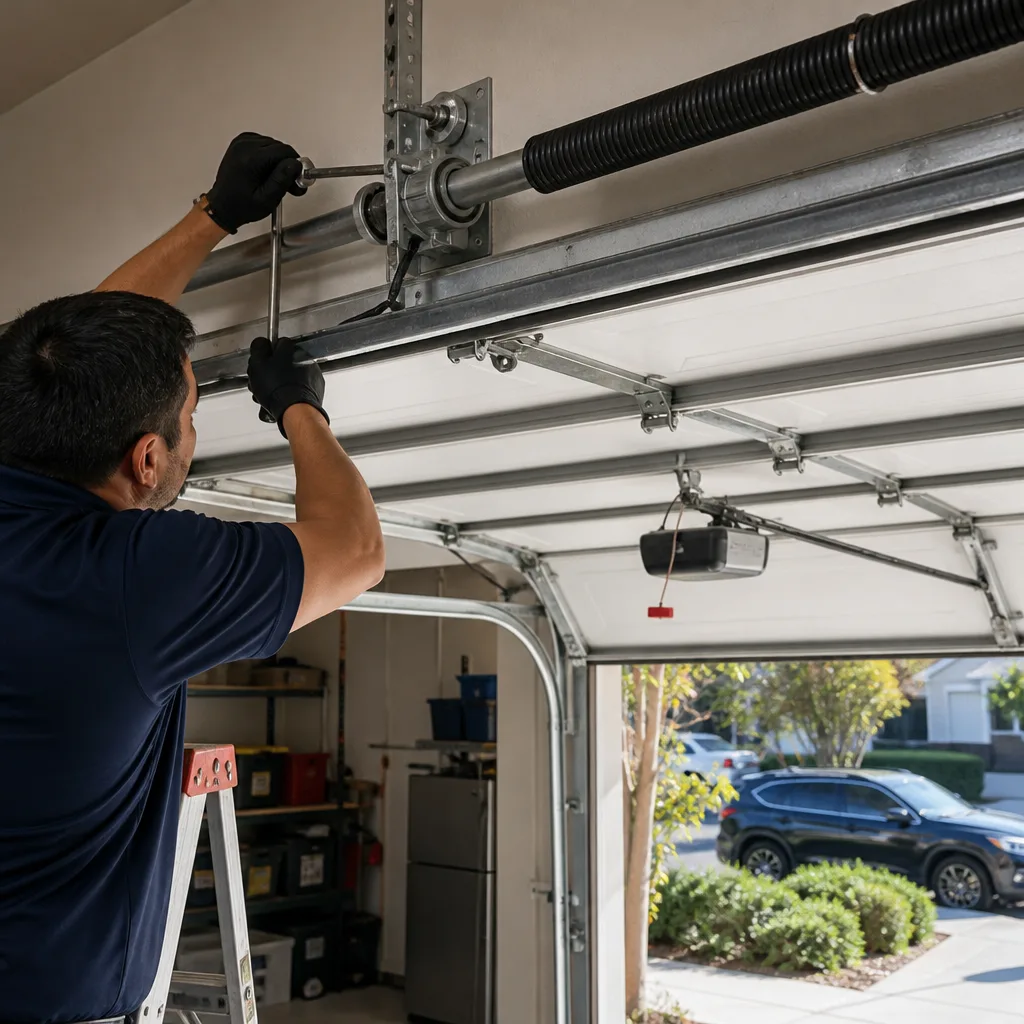 After
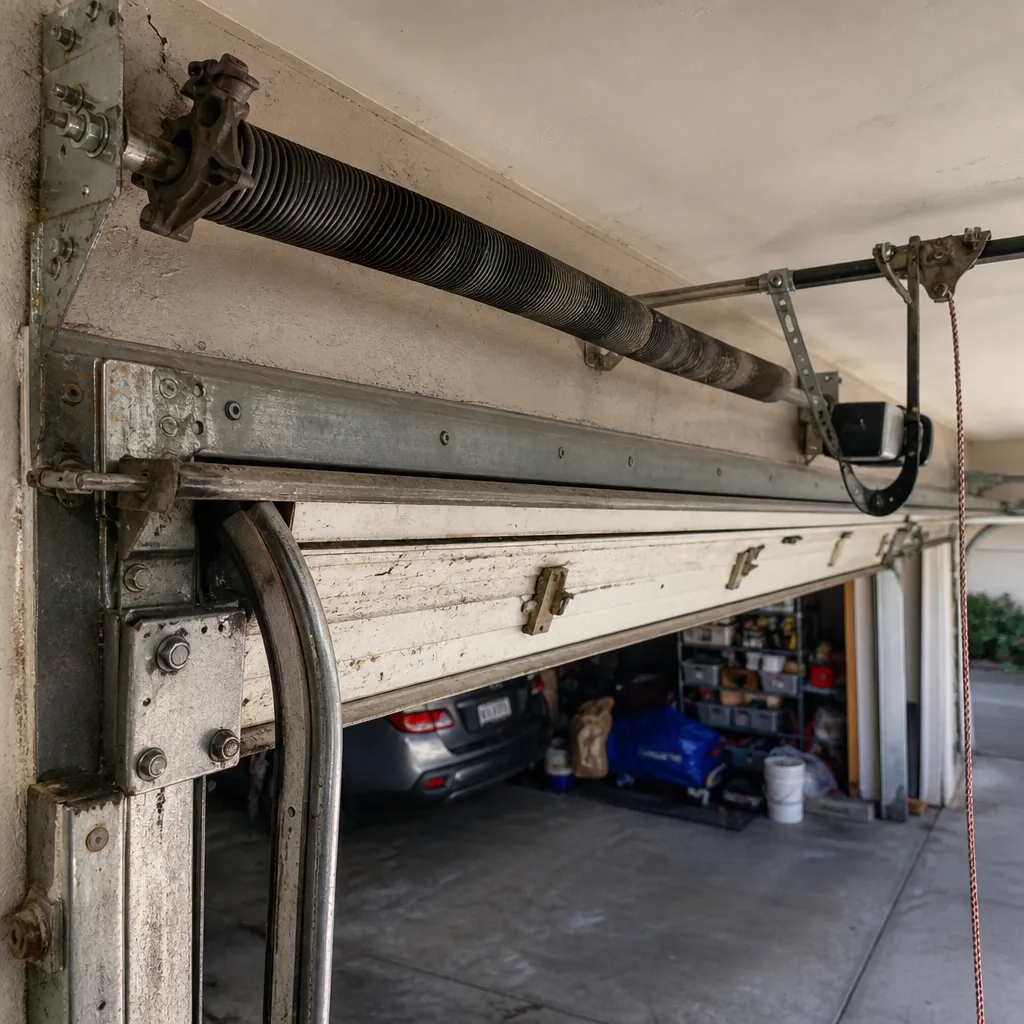 Before
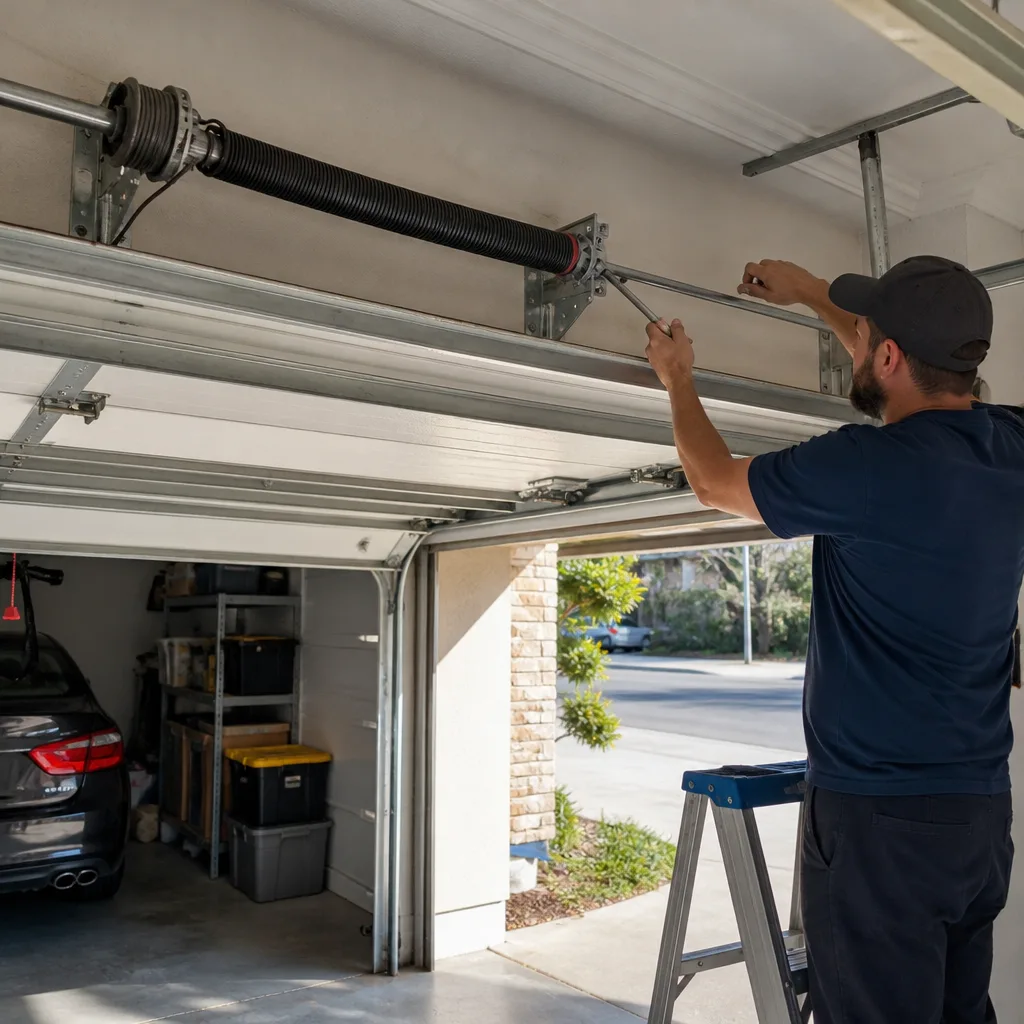 After