
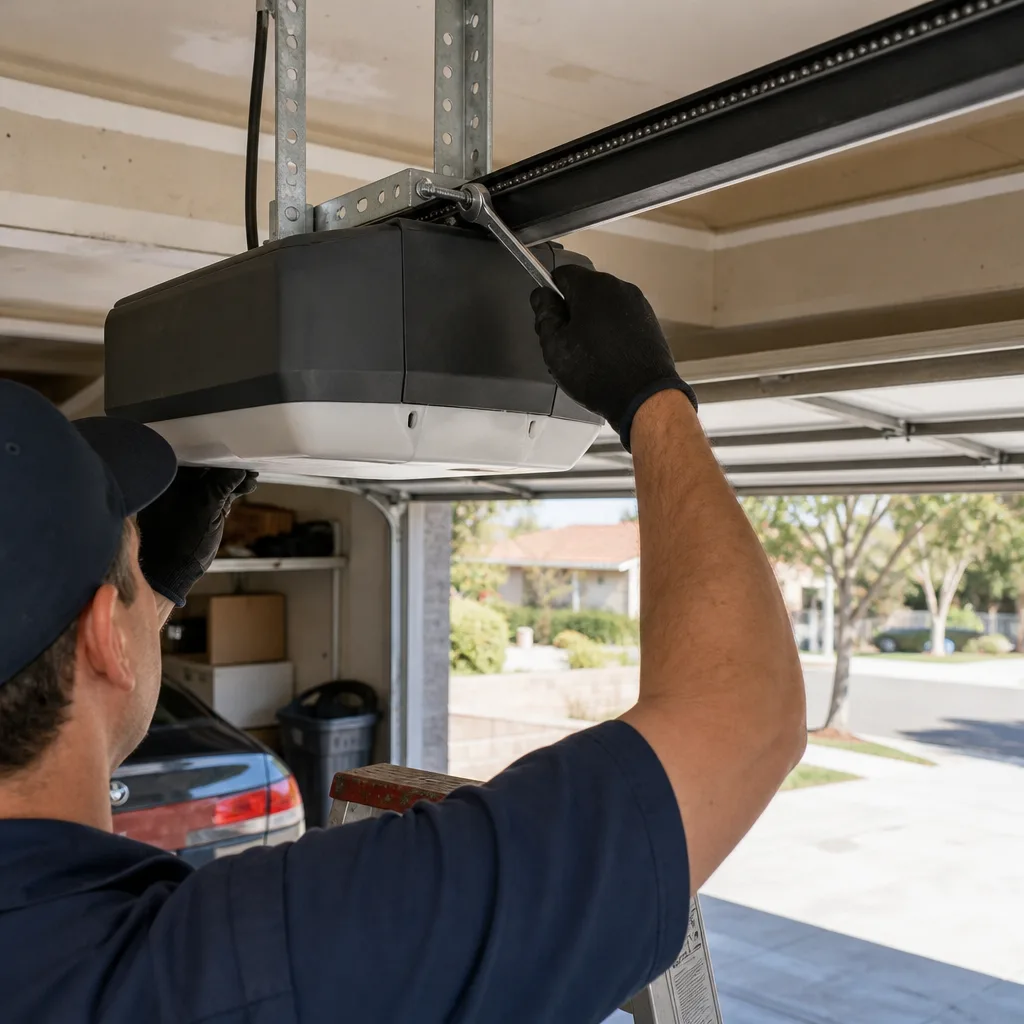
Last updated November 2, 2026
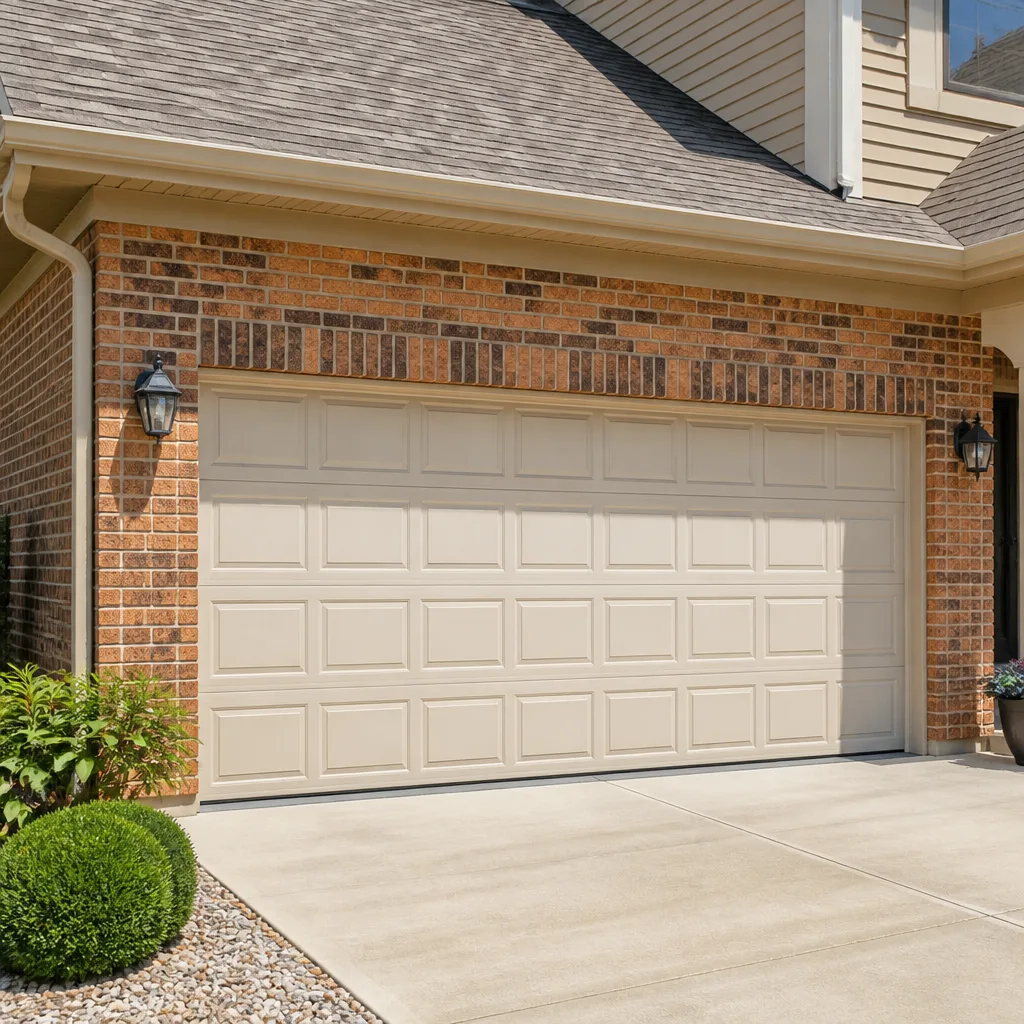 Raised-panel steel
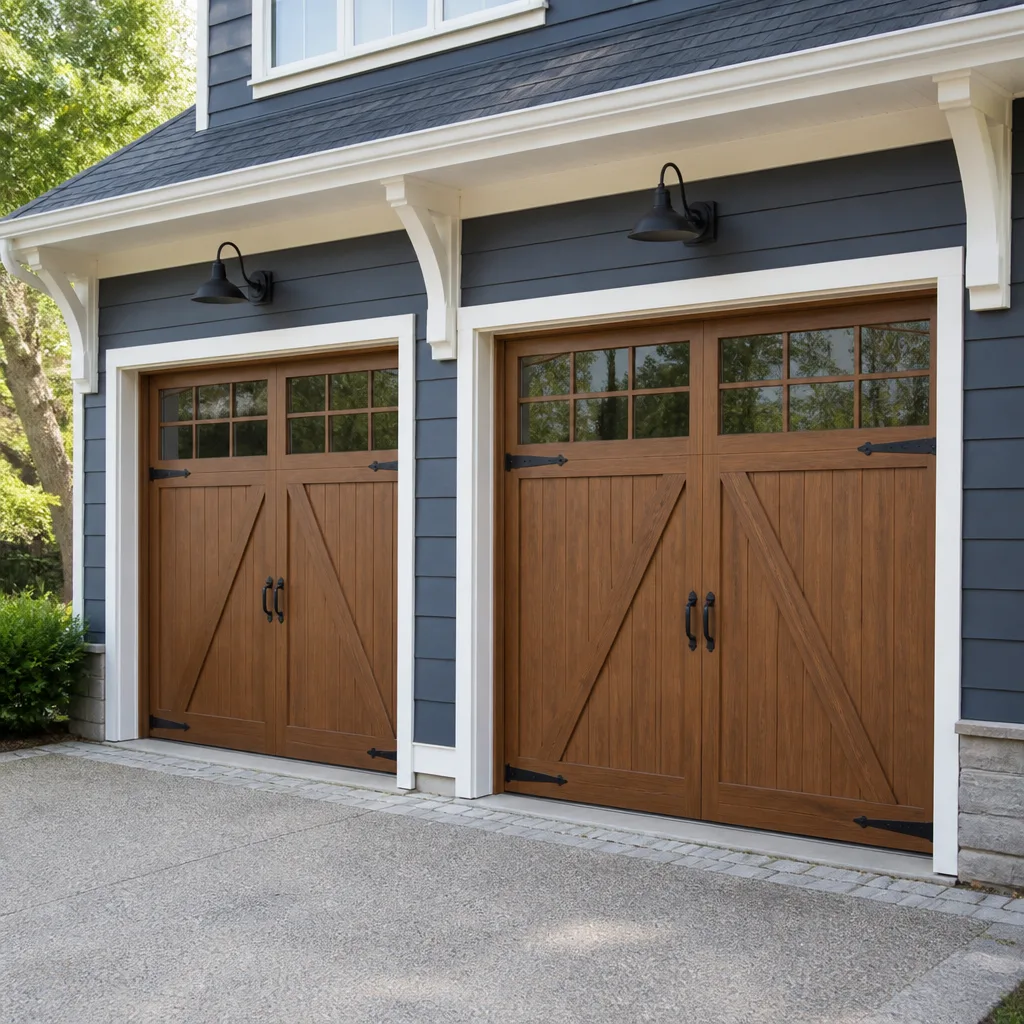 Carriage house
 Modern flush
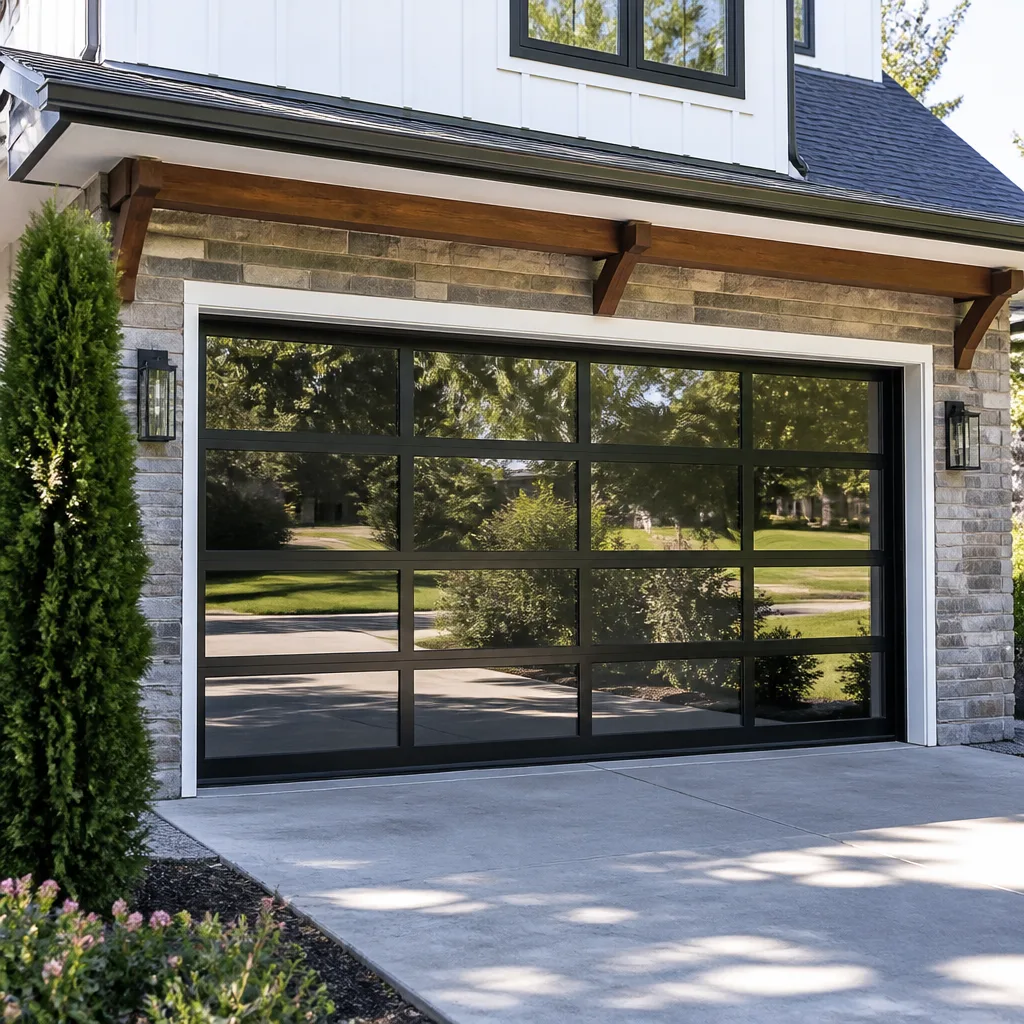 Full-view glass
 LiftMaster openers
 Chamberlain openers
Full 25-point door and opener safety check with every visit - springs, cables, rollers, tracks, and your LiftMaster or Chamberlain opener included
You get a price before we start. It does not change when the truck arrives.
Get your free estimateGarage Door Repair Maintenance Checklist for Aliso Viejo Homeowners
A garage door has more than 200 individual components, yet most maintenance checklists cover about a dozen. That means the part that fails and strands your car inside on a Tuesday morning was probably never on the list. This guide follows the sequence a working technician actually uses when inspecting doors in Aliso Viejo, from the parts that fail first in coastal Southern California air to the adjustments that quietly extend opener life. By the end, you’ll know what to check quarterly, what to leave alone entirely, and which warning signs mean call someone before the door stops moving altogether.
Quick Answer
The most effective garage door maintenance routine for Aliso Viejo homeowners checks five systems in order of failure frequency: spring tension, roller and hinge wear, opener force sensitivity, weather seal integrity, and track alignment. Run the garage door repair in Aliso Viejo checklist quarterly for moving parts and opener settings, with an annual deep inspection of springs, cables, and structural hardware. Skip the generic “lubricate everything” advice that gums up coastal air with grit. Instead, test specific failure points before they become breakdowns.
Styles & brands we work with
- Raised-panel steel
- Carriage house
- Modern flush
- Full-view glass
- LiftMaster openers
- Chamberlain openers
Table of Contents
- The Inspection Sequence: What Technicians Check First
- Spring Tension Wear vs. Imminent Failure: Reading the Signs
- Lubricants That Work in Aliso Viejo Humidity (and Ones That Don’t)
- Opener Force Sensitivity: Why a Working Door Can Still Be Dying
- Quarterly vs. Annual Tasks: A Realistic Split
- Rollers, Hinges, and Hardware: The Coastal Corrosion Factor
- Weather Seals and Bottom Rubber: The Moisture Barrier
- Common Mistakes to Avoid
- When to Call a Professional
- Frequently Asked Questions
The Inspection Sequence: What Technicians Check First
Every working tech develops a route through the door, and it’s never alphabetical. It’s ordered by what breaks most often in the local environment. For Aliso Viejo, that sequence goes: springs, rollers, hinges, opener force, tracks, seals. Here’s why the order matters. Coastal humidity accelerates metal fatigue in high-tension components while also collecting airborne salt and moisture that corrodes hardware other regions never worry about. A door in Phoenix faces different failure points than a door here. We inspect accordingly, and so should you.
Run through this sequence monthly with your eyes and ears, and quarterly with your hands. You’re not looking for what’s broken. You’re looking for what’s about to break.
- Springs first. They hold the entire weight of the door and degrade on a predictable timeline. Look for gaps in coil spacing, rust bloom, or slack when the door is up.
- Rollers second. Worn rollers force the door to work harder, which transfers load to springs and opener. Listen for grinding or wobble during operation.
- Hinges third. Loose hinge bolts are the most common source of the “clanking” sound homeowners report. Check all 10 to 14 hinge points depending on door height.
- Opener force settings fourth. An opener running too hot shortens its own life. Most homeowners never touch these settings, which is the point.
- Track alignment fifth. Misaligned tracks are usually a symptom, not a cause. If tracks look off, the underlying problem is often a worn roller or failing spring.
- Seals sixth. Bottom rubber and side weatherstrip fail quietly. In Aliso Viejo, moisture intrusion from a failing bottom seal accelerates rust on everything above it.
If this feels like a lot, that’s because garage doors are genuinely complex machines. The good news is the sequence becomes second nature. But if any step turns up something concerning, address it before the next cycle. A binding door in June becomes a snapped spring in September.
Key takeaways:
- Inspect in failure order, not part order.
- Monthly visual checks, quarterly hands-on checks.
- Coastal air changes which components fail first.
- Track misalignment is almost always a symptom of something else.
- If the door binds, don’t force it. Diagnose it.
Spring Tension Wear vs. Imminent Failure: Reading the Signs
Here’s the part most generic checklists skip entirely: how to tell the difference between a spring that’s aging normally and one that’s two weeks from snapping. Extension springs and torsion springs give different cues, so we’ll cover both. And we’ll be direct about the safety concern. A torsion spring under tension stores enough energy to cause serious injury if mishandled. This section teaches you to observe and assess, not to repair. Spring replacement is professional work, full stop.
Extension springs (mounted above the horizontal tracks)
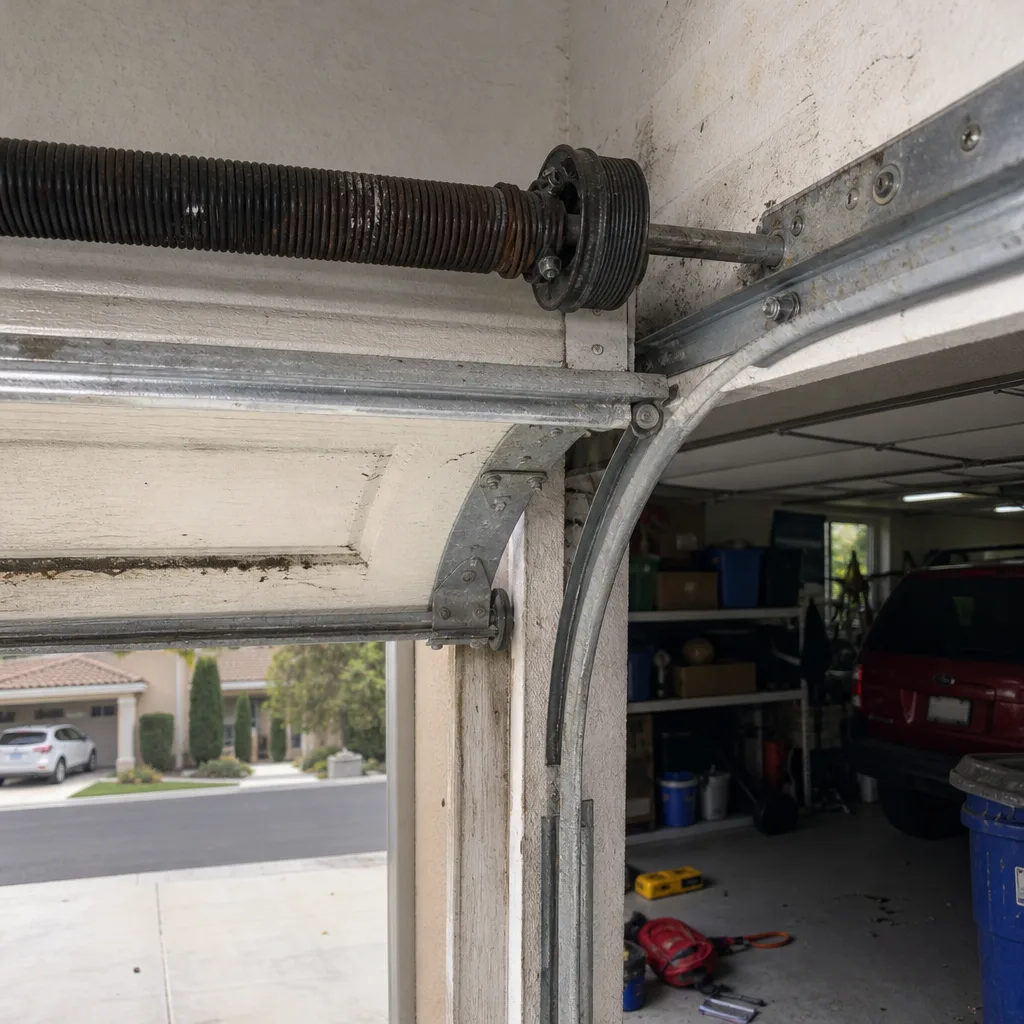
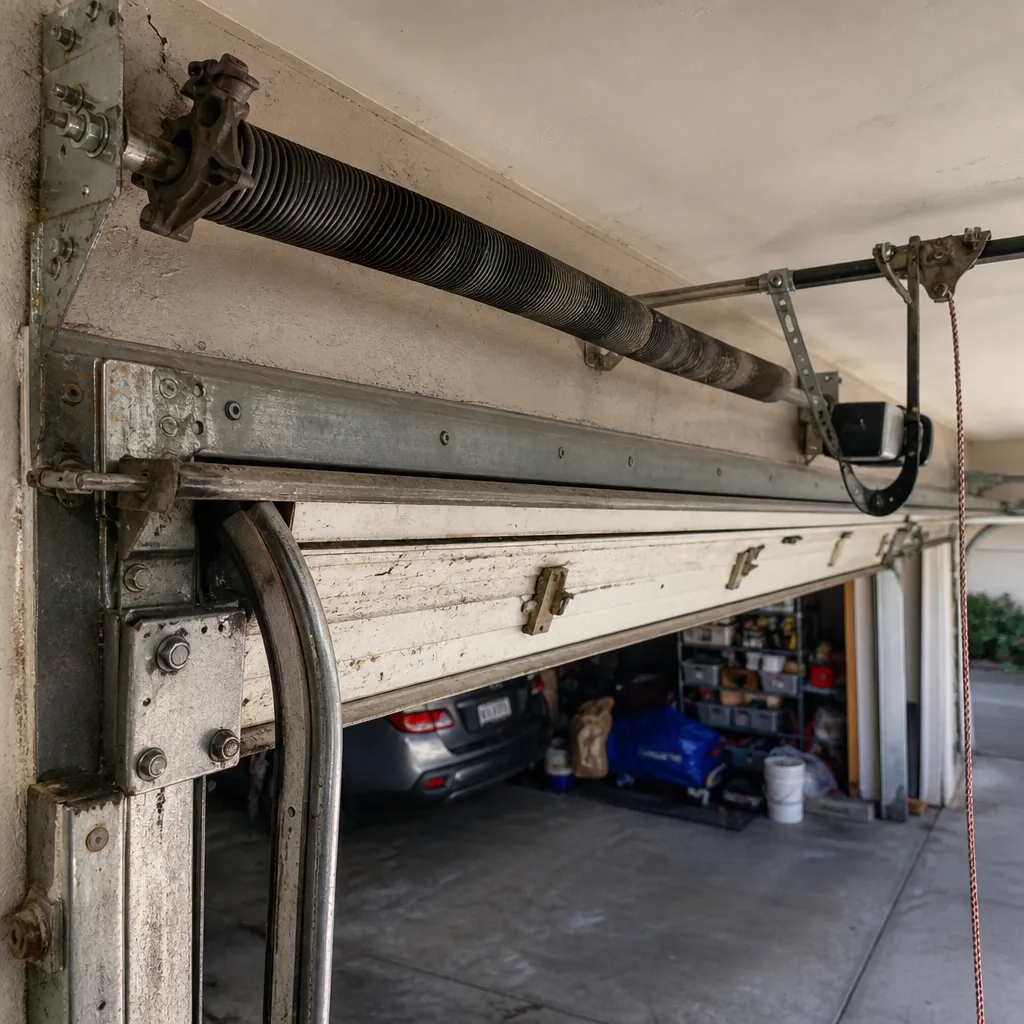
These stretch when the door closes. As they age, three signs appear in sequence. First, the coils develop small gaps at rest that weren’t there when the spring was new. Second, the spring sags slightly mid-span. Third, and most critically, you’ll see necking: one or two coils visibly narrower than the rest. Necking means the metal has permanently deformed. When you see necking, the spring is done. Not “keep an eye on it” done. Schedule the replacement that week.
Torsion springs (mounted on a shaft above the door opening)
Torsion springs twist rather than stretch, so wear shows differently. Look for a widening gap between coils, which indicates the spring has lost some of its original set. Also check for rust bloom: fine orange powder at coil contact points. Surface rust is cosmetic. Rust that has created pitting or flaking metal is a structural problem. And listen for a door that feels heavier than it used to. If the door is difficult to lift manually, the spring is no longer counterbalancing the weight. That load is transferring to your opener’s motor, which wasn’t designed for it.
We’ve seen torsion springs in Aliso Viejo neighborhoods like Westridge and Glenwood last anywhere from 7 to 12 years, but coastal air knocks a few years off that range compared to inland Orange County. The rust acceleration is real and measurable. A galvanized spring lasts longer than a raw steel one, and some manufacturers, including Amarr and Raynor, offer upgraded spring coatings as original equipment on select models. If you don’t know what kind of springs you have, a brand-trained tech can identify them in about thirty seconds.
One more cue: balance. When the door is halfway up and you release it manually, it should hold position. If it drifts down, the spring is losing tension. If it creeps up, the spring is over-tensioned. Either way, your spring is talking to you. Learn to hear it.
Spring warning signs at a glance
- Visible necking on extension springs = replacement window is now.
- Coil gaps widening on torsion springs = lost tension, rebalance needed.
- Rust pitting beyond surface bloom = structural degradation.
- Door drifts when released manually = spring system not balanced.
- Sudden loud bang = spring snapped. Do not operate the opener.
Lubricants That Work in Aliso Viejo Humidity (and Ones That Don’t)
Aliso Viejo sits close enough to the Pacific that humidity averages 65% to 75% most mornings, and that means one thing for lubrication: anything sticky becomes a magnet. Every driveway, every road, every dry hillside contributes fine particulate that ends up on your garage door hardware. Spray WD-40 on your rollers and you’ll have a grinding paste in three weeks. Use white lithium grease on hinges and you’ll create the same problem with extra steps.
The right product for this climate is a dry or semi-dry silicone or PTFE spray. Specifically:
- Silicone spray (dry film): Use on rollers, hinges, and the torsion spring. It penetrates, coats, and dries without leaving a residue that captures grit.
- PTFE (Teflon) spray: Excellent for track edges and opener rail. Similar dry-film behavior, slightly better for metal-to-metal contact.
- White lithium grease: Only on the worm gear inside certain opener models, and only if the manufacturer calls for it. Never on the exterior hardware. In coastal air, lithium grease collects everything.
- Motor oil or household oil: Do not use. Ever. On any component. It drips, it gums, and it accelerates roller bearing failure.
Here’s the frequency that makes sense for Aliso Viejo. Rollers and hinges: lubricate quarterly. Torsion spring: twice a year, with a light coat on the coil surface. Opener rail (chain drive): inspect for dry links every quarter; lubricate with PTFE if the chain looks dry. Belt drive rails need no lubrication. Screw drive rails need grease per manufacturer spec, usually every year to 18 months.
One more note on technique. Less is more. You want lubrication where parts move, not a visible accumulation. Wipe excess. The goal is a thin film, not a coating. In humid air, the film protects; the excess becomes a problem.
Opener Force Sensitivity: Why a Working Door Can Still Be Dying
This is the section most homeowners skip because nothing appears broken. The door goes up. The door goes down. The opener runs. Everything works fine. And then, one day, it doesn’t, because the opener has been running against excessive resistance for two years and the motor finally gave out. Here’s what to check instead of waiting for the failure.
Every opener has force sensitivity settings that govern how much resistance the motor will push against before reversing or stopping. When these settings are too high, the opener compensates for a door that’s becoming harder to move. That sounds helpful, but it’s actually destructive. The opener masks the underlying problem, usually spring wear or roller degradation, while the motor works progressively harder. That burns out gears, wears the drive belt or chain prematurely, and shortens motor life significantly.
You can test your opener’s force settings without any special tools:
- Place a 2×4 flat on the floor under the door’s centerline.
- Close the door using the opener.
- Watch what happens when the door contacts the 2×4. It should reverse within one to two seconds. If it pushes down, strains, or takes longer than two seconds to reverse, the force setting is too high.
- Repeat with a roll of paper towels. Same expectation. The door should reverse on contact with anything an inch or taller.
- Check the auto-reverse sensors. While you’re at it, verify the safety beam sensors at the bottom of the tracks are aligned. Close the door and wave your hand through the beam. Door should reverse immediately.
If your door fails either test, the opener isn’t running safely, and adjusting force sensitivity is not a good DIY project. Setting force too low makes the door reverse when it shouldn’t. Setting it too high masks the real problem. The correct setting depends on the specific opener model, and brands like LiftMaster, Chamberlain, and Genie all have different adjustment procedures. We regularly see openers in Aliso Viejo running at force settings that should have been corrected years ago; our troubleshooting guide covers how to spot these issues early. The door works, so nobody calls. Then the gear set strips at 7:00 a.m. on a workday.
If you’re hearing grinding from the opener, don’t keep cycling the door. Contact our garage door opener repair team in Aliso Viejo. A thorough diagnosis now beats a replacement later.
Quarterly vs. Annual Tasks: A Realistic Split
Most homeowners abandon maintenance checklists because the list is too long. When everything looks equally important, nothing gets done. The fix is simple: split the work by frequency and season. Here’s what should happen every quarter versus once a year, structured so the quarterly list takes under 30 minutes and the annual list takes under two hours.
Quarterly checklist (30 minutes)
- Visual spring inspection. Look at both springs. Any new gaps, rust bloom, or sag? Mark your observations mentally.
- Roller inspection. Watch each roller as the door moves. Any wobble, grinding, or cracked wheels? Rollers on Wayne Dalton and Craftsman doors, for example, wear at predictable rates depending on use frequency.
- Lubricate rollers and hinges. Dry silicone spray, light coat, wipe excess. Takes eight minutes.
- Listen. Operate the door once with the opener, once manually. Any new sounds? Clanks, pops, squeals?
- Sensor alignment check. Wave hand through the beam. Door reverses? Good.
- Weather seal check. Look at the bottom seal. Cracks, gaps, daylight visible? Make note for replacement.
Annual deep inspection (2 hours)
- Spring balance test. Release the door manually (pull the red cord with the door down, then lift). Does it hold at half height? Does it stay where you put it? If not, springs need professional attention. Do not attempt adjustment yourself.
- Cable inspection. Look at both lift cables for fraying, rust, or loose wraps on the drum. Cables don’t wear evenly, so inspect every inch visible.
- All 10-14 hinge bolts. Check with a wrench. Tighten any that have backed out. Use a torque that feels firm but not forced.
- Track inspection. Look for bends, dents, or mounting bolts that have loosened. Check the gap between rollers and track edges.
- Opener force sensitivity test. The 2×4 and paper towel tests described above.
- Thorough clean of all hardware. Wire brush any surface rust, then treat with silicone spray. Remove accumulated grime and salt film from metal surfaces.
- Condition of door panels. Look for chips, dents, and especially rust at the bottom panel seams. In coastal air, the bottom panel corrodes faster than any other.
The seasonal rhythm for Aliso Viejo: do the quarterly list in January, April, July, and October. July matters because the summer marine layer keeps humidity high, and that’s when corrosion accelerates. If you only do one quarter seriously, make it July.
Rollers, Hinges, and Hardware: The Coastal Corrosion Factor
Here’s a fact most guides won’t tell you: in Aliso Viejo, hardware fails from the inside out. Rollers that look fine on the outside can have rusted internal bearings, because humid air penetrates the seal and ends the bearing’s life before the wheel itself shows wear. Hinges that look solid can have hairline fatigue cracks hidden under their coating, particularly at the stress point where the hinge travels through the track curve.
What should you look for, and what should you do about it?
- Roller wobble. Any lateral movement as the roller travels its track = bearing failure. By the time you see wobble, the roller is done. Replace it.
- Flaking or pitted roller stems. The stem is the part that goes through the hinge. Corrosion here eventually binds the roller, which transfers force to the hinge, which then transmits it to the door panel. In a salt-air environment, this failure cascade is common.
- Hinge powder. Check for fine rust dust accumulating around hinge pins. That’s internal corrosion working its way out. Oil the pin with a light silicone or PTFE, but if the powder is significant, the hinge has lost its structural integrity.
- Bottom panel rust. The bottom panel is closest to ground moisture and any salt that gets tracked in on car tires. Aliso Viejo’s marine layer holds moisture against the panel bottom for hours each morning. Inspect it monthly during summer.
Roller replacement is a job a homeowner with the right tools can do, but there’s a caveat. The bottom roller on each side runs under high tension. If you’ve never replaced a roller, the bottom pair is not the place to learn. We’re not saying every roller replacement needs a pro. We’re saying know which ones you can safely handle and which ones you shouldn’t touch.
If you’re seeing significant corrosion across multiple rollers or hinges, it’s usually a signal that the hardware has been in place for a decade or more in this climate. Upgrading to nylon-coated steel rollers can make a noticeable difference in both noise and longevity. Brand doesn’t matter nearly as much as the build: nylon-coated steel, sealed bearings, ball-bearing design. The door manufacturer label, whether Amarr, Clopay, or someone else, doesn’t dictate roller compatibility either. Rollers are standardized by diameter and stem length.
For a deeper look at how the full mechanical system holds up in this climate, our garage door repair page for Aliso Viejo walks through the common failure modes by component.
Weather Seals and Bottom Rubber: The Moisture Barrier
In most climates, the bottom seal exists to keep out dirt and drafts. In Aliso Viejo, it does something more important: it keeps ground moisture away from the door panel and hardware. When the bottom seal fails, humid air gets under the door and attacks everything above it. That’s the real cost of a cracked piece of bottom rubber: accelerated rust on the entire lower door assembly.
Here’s what to inspect and what a healthy seal looks like:
- Bottom seal (astragal). This is the rubber strip along the bottom edge of the door. Look for cracks, tears, flat spots, or areas where the rubber has hardened and doesn’t compress. In Aliso Viejo, seals typically last 3 to 5 years before the rubber loses enough flexibility to gap.
- Side and top weatherstrip. The flexible strips that run along the vertical tracks and the top jamb. They keep humid air and light out of the garage. Cracks or gaps here show up as visible daylight when the door is closed.
- Threshold seal (if present). Some Aliso Viejo homes have a raised threshold under the door. If you have one, check that the bottom seal meets it evenly across the full width.
- Daylight test. With the door closed, turn off the garage lights and look at the bottom and side edges. Any daylight showing through means a seal has failed.
Replacing a bottom seal is one of the more approachable DIY tasks on this list for most standard doors. The old seal usually slides out of a T-channel, and the new one slides in. The specifics vary by manufacturer: Wayne Dalton doors use a different seal profile than Amarr, for instance. If you’re unsure what seal fits your door, a brand-trained technician can identify it from the panel profile.
There’s also a seasonal angle worth knowing. Aliso Viejo’s winter brings occasional heavy rain, and a failed bottom seal then becomes an active water intrusion problem, not just a humidity issue. Check it in October, before the rain starts, not after.
Common Mistakes to Avoid
- Lubricating everything with WD-40. In coastal air, WD-40 leaves a film that attracts particulate within days. On rollers and hinges, it creates a grinding paste that accelerates wear. Use dry silicone or PTFE instead.
- Ignoring a door that works fine. The opener masks spring wear and roller damage while the door still opens. The failure is silent until the day it isn’t. The force sensitivity test catches this before it costs you an opener.
- Treating all springs as safe to inspect. Observing is fine. Adjusting torsion springs is not. Under the tension required to lift a garage door, a spring that releases unexpectedly can cause serious injury. If the spring needs service, call a professional. No maintenance checklist includes DIY spring work.
- Adjusting opener force without knowing the model. Each manufacturer has specific force adjustment procedures. Guessing can make the door unsafe or cause premature wear. If you don’t know your opener model, don’t adjust it.
- Replacing one roller at a time. When rollers start failing, they’re all at similar wear levels. Replacing one bearing roller and leaving the other nine means you’ll replace them one at a time over the next year. Replace them in sets when the first one fails.
- Painting over rust without treating it. Surface rust on panels and hardware needs removal before any coating goes on. Paint over active rust traps moisture in the metal and makes the problem worse. In Aliso Viejo humidity, active rust spreads under paint within months.
- Forgetting the seasonal timing. The marine layer is worst from May through July. If you only run your maintenance checklist once a year, do it in July when the corrosion pressure is highest, not in spring when everything looks fine.
When to Call a Professional
Some things on this checklist are clearly DIY territory: lubricating hinges, checking seals, listening for new sounds. But there’s a line, and crossing it without the training and the right tools is how serious injuries happen. Call a professional if you notice a snapped spring, frayed cables, a door that falls when released manually, or an opener that grinds. These are not adjustments. They’re failures that require replacement under tension.
We also recommend a professional look for anything that doesn’t match the expected behavior described in this guide. If a spring looks wrong but you can’t articulate why, that’s worth a call. If the door made a sound you’ve never heard before, don’t wait for the next cycle to see what happens. Alder Garage Door Repair offers free estimates in Aliso Viejo. Call (855) 382-4001 and we’ll tell you what’s actually wrong and what it costs to fix, before any work starts.
If you’re considering a new door instead of repairing the one you have, our garage door installation guide for Aliso Viejo covers the full process, from measuring to finish.
Frequently Asked Questions
Lubricate rollers and hinges every three months with a dry silicone or PTFE spray, and coat the torsion spring twice a year. Aliso Viejo’s coastal humidity means the film protects moving parts, but excess attracts grit, so keep coats light and wipe off any buildup. Call (855) 382-4001 if you’re not sure which product matches your hardware.
An extension spring about to snap will show necking: one or two coils visibly narrower than the rest, indicating permanent metal deformation. A torsion spring warns you differently, usually through a door that drifts down when released manually at half height, meaning the counterbalance is failing. If you see either condition, schedule spring replacement that week rather than waiting for the snap.
Yes. The marine layer holds moisture against door hardware for hours each morning, and that accelerates rust on springs, rollers, hinges, and the bottom panel. You’ll need more frequent lubrication than inland homeowners, more aggressive corrosion checks, and a bottom seal that gets replaced on a 3-to-5-year cycle instead of lasting indefinitely. July is the most important month for maintenance because summer marine layer humidity peaks.
You can test the settings safely with a 2×4 or a roll of paper towels, and you should do that quarterly. But adjusting the force settings is manufacturer-specific, and guessing wrong makes the door unsafe or shortens motor life. If your door doesn’t reverse on contact with a 2×4, have a brand-trained technician set it correctly. Most openers on LiftMaster, Chamberlain, and Genie units respond differently, so model matters.
Expect 7 to 10 years from a standard torsion spring in coastal Orange County, somewhat less than inland homes where dry air slows corrosion. Galvanized or coated springs last longer, and some premium doors from manufacturers like Raynor and Amarr include upgraded spring coatings as original equipment. Usage frequency matters as much as weather: a door cycled four times a day reaches its rated life in about two-thirds the time of one cycled twice.
Check the safety beam sensors first. In coastal humidity, sensors accumulate condensation and film that breaks the beam. Clean both lenses with a dry cloth, verify alignment, and test again. If the door still won’t close or reverses unpredictably, the issue is likely in the force settings or a track obstruction. Call (855) 382-4001 for a free estimate in Aliso Viejo, and we’ll diagnose it on site.
The Bottom Line
A garage door maintenance checklist is only useful if it follows the actual failure sequence of your environment. For Aliso Viejo homeowners, that means springs first, rollers second, opener force third, and seals fourth, with quarterly hands-on checks and an annual deep inspection. Coastal humidity changes everything, from which lubricants work to which components corrode first. Learn to read the warning signs this guide walked through, and you’ll catch most failures before they strand you. The rest of the time, when something doesn’t match what’s described here, that’s what the phone number is for. Alder Garage Door Repair handles the full system, door and opener, whatever brand is installed. Call (855) 382-4001 for a free estimate.
Written by the team at Alder Garage Door Repair, serving Aliso Viejo since 2017.
See the difference
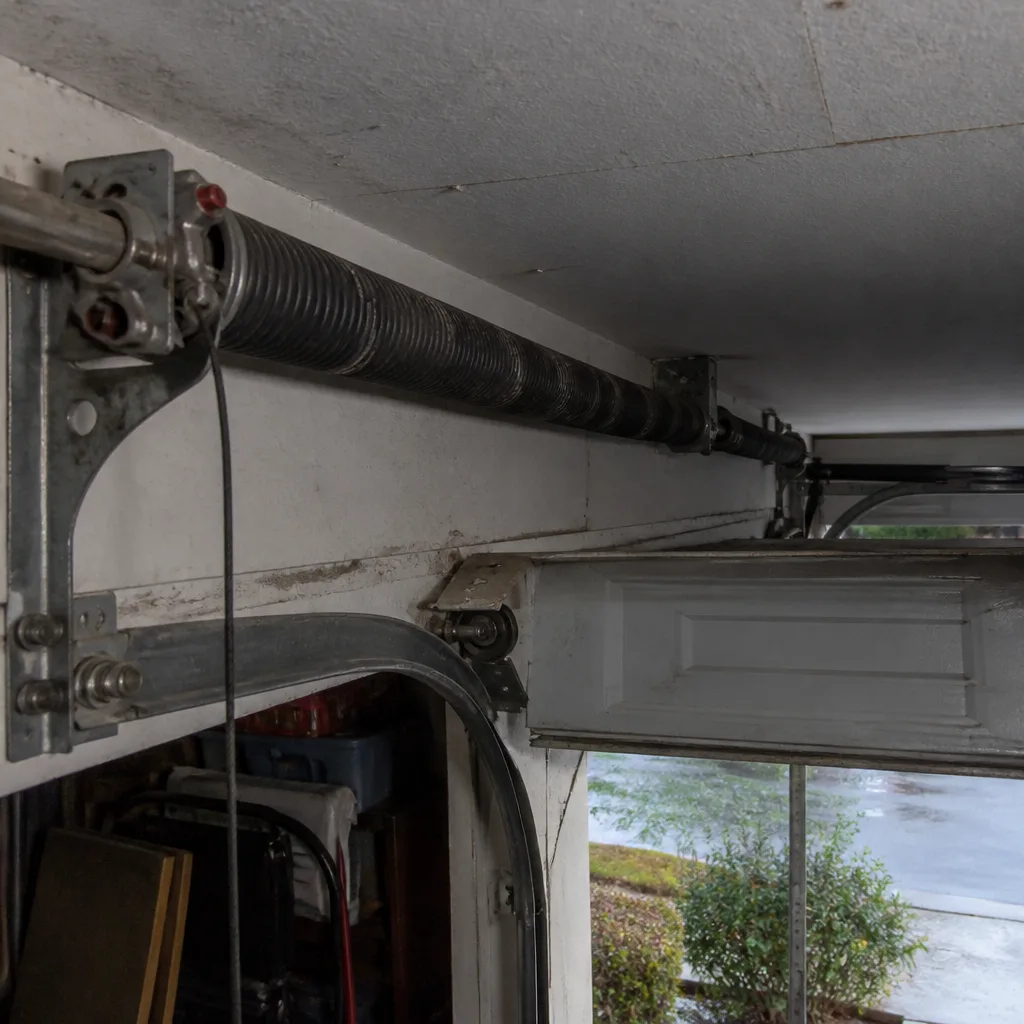 Before
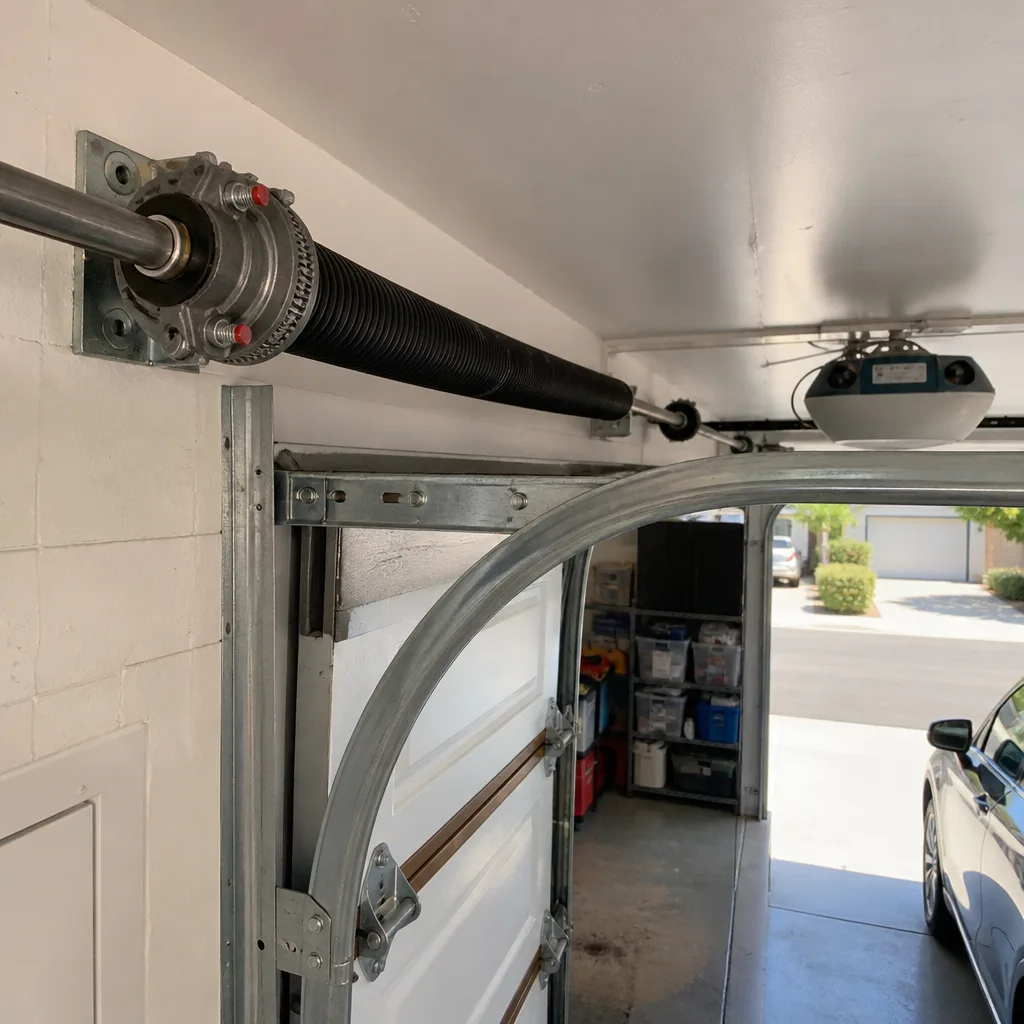 After
 Before
 After
 Before
 After